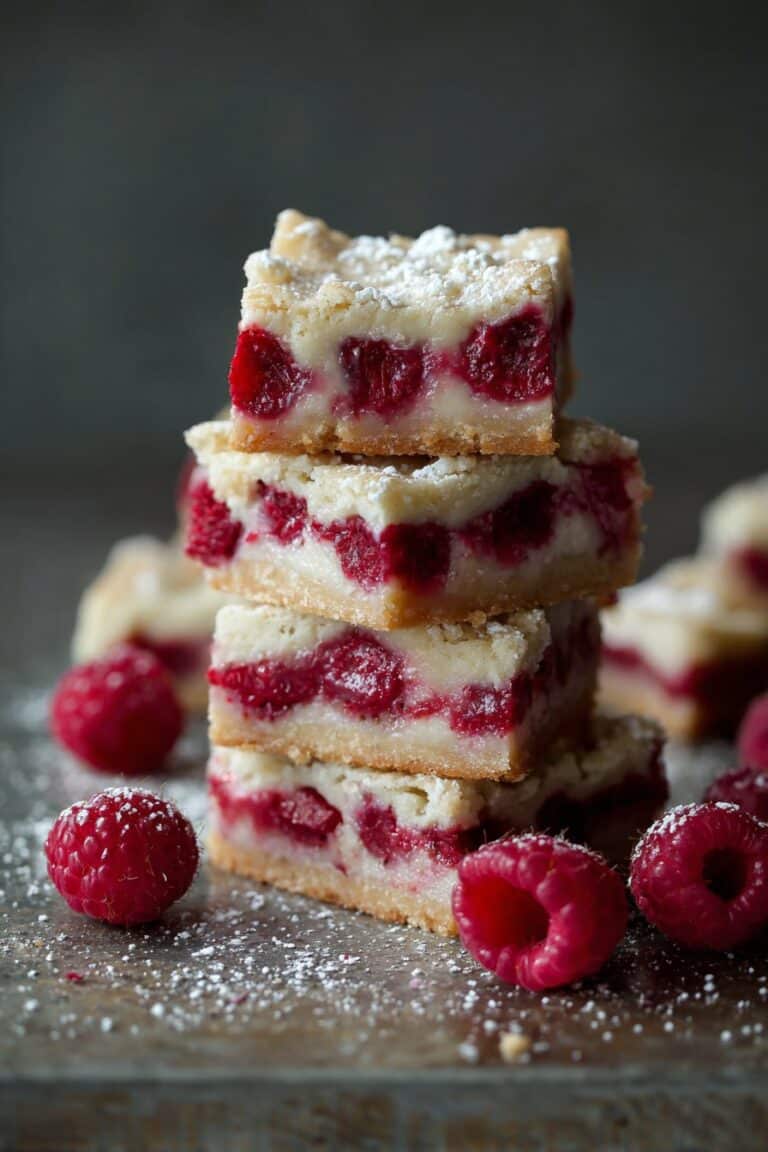
Salted Maple Pecan Pie Bars
When Pecan Pie Meets Maple Bars: Why I Love This
Okay, so picture this: it’s a gloomy autumn Sunday, rain’s drizzling, and all I want is a slice of something sweet without having to commit to making a giant pie. Enter my Salted Maple Pecan Pie Bars. I tried these first when my cousin brought them to a potluck and – not gonna lie – I nabbed three before everyone else had finished their first. I mean, who makes bars instead of a regular pie? Apparently, people with better ideas than me. (And a lot less fuss. No offense, Grandma, but your crust was a nightmare.)
The first time I tried to make these, I somehow mixed up the salt and sugar. Nobody let me live it down; my brother still calls them “salty surprise bars.” But hey, we all start somewhere. Now? These bars are one of the few things I bring to every get-together where I want people to like me afterwards. And, you know, there’s something cozy and a little lazy about slapping everything in a pan instead of fussing with lattice or crimped edges.
Why You’ll Love These Bars (Or At Least Why I Do)
- I make this when I’m craving pecan pie but need things to be less fussy (like when the rolling pin is buried under five baking sheets and a bag of potato chips. Don’t ask.).
- My family goes absolutely bonkers for these (yes, even the pickiest niece, who once told me cinnamon “smells like old houses”).
- Also, the maple syrup gives it a cozy, sort of campfire-outside-in-autumn vibe that just feels right. And there’s salt! Who doesn’t love a little sweet-salty drama?
- If you’re short on time, you can legit make the crust with a food processor (but I’ve done it with a fork too, on days when all the gadgets are questionable).
- Honestly, the worst part is waiting for them to cool. Bar none. (See what I did there?)
What You’ll Need (And How You Can Improvise)
- For the crust:
- 1 1/2 cups (about 190g) all-purpose flour (I’ve snuck in whole-wheat flour before; a bit rustic but not half bad, actually.)
- 1/3 cup (about 70g) brown sugar (Light or dark—honestly, I use whatever’s open.)
- 1/4 teaspoon salt (sea salt is nice but table salt hasn’t killed me yet)
- 1/2 cup (around 115g) cold unsalted butter, cubed (I’ve used salted. Just, you know, cut back on the added salt.)
- For the topping:
- 2 large eggs (Room temp is fancy, but cold works. Don’t stress.)
- 1/2 cup pure maple syrup (Don’t skimp with fake stuff. Though my neighbor swears by this King Arthur version if you’re desperate)
- 1/2 cup light corn syrup (or golden syrup, which is a bit British, but works fine. Once ran out and did half honey, half maple – it was a wild time.)
- 1/2 cup white sugar (sometimes I cut it to 1/3 cup if I’m feeling all healthy-like. Doesn’t fool anyone, but whatever!)
- 2 tablespoons unsalted butter, melted
- 1 teaspoon vanilla extract (I have made this with vanilla bean paste when someone gifted it to me — felt very posh for 10 minutes.)
- 1/2 teaspoon salt (sea salt if you have it; Malden’s my favorite splurge)
- 1 3/4 cups raw pecan halves or pieces (Toasted is best, but un-toasted in a pinch. I once tried walnuts; a bit meh, but edible.)
- Flaky sea salt for topping (optional, but my hand always “accidentally” shakes out a little extra)
How Do You Actually Make Them? (Not as Hard as You Think)
- Oven on, 350ºF (175°C). Line an 8×8-inch baking tin with parchment. Don’t fuss too much — a bit of overhang helps yank them out later. Sometimes I trace the bottom with a pencil because why not?
- For the crust: In a bowl, mix the flour, brown sugar, and salt. Add those butter cubes and cut them in till it’s all crumbly — a pastry cutter is orthodox, but a fork, your fingers, or a food processor work. (I usually give up and use my hands, then immediately regret it because, wow, is butter cold.)
- Press that dough into the tin. It’ll look a bit patchy — that’s fine. Pop it in the oven about 22 mins, or till it’s very lightly golden. This is where I sneak a sliver off the corner. Taste testing, right?
- While the crust bakes, whisk eggs like crazy in another bowl. Add maple syrup, corn/golden syrup, sugar, melted butter, vanilla, and salt. No need to be a perfectionist — just get it combined. Pecans go in last, swirl ‘em around.
- When the crust is done, pour the filling gently over, making sure all the pecans spread out. They float, so it looks odd — but ignore it. Top with a pinch (or seven) of flaky salt.
- Bake for 26–32 mins. You’re looking for set edges and a very slight jiggle in the center. Don’t overbake. I tend to pull them just when the outer inch is firm. They’ll keep setting as they cool.
- This next bit’s torture: let cool at least 2 hours, or the gooey center will ooze everywhere. I mean, you can eat them warm (I’ve done it) but they’re crazy messy.
- Lift out, slice into bars (I cut 16 for “polite company,” 9 if it’s just family).
A Few Honest Notes (From Too Much Trial and Error)
- Corn syrup: I used to be all high-and-mighty about avoiding it; maple alone just doesn’t set the same. But if you like it runny, maybe give it a shot with only maple. Messy, but tasty?
- Crust: I tried chilling the crust before baking — made zero difference, if I’m honest.
- Pecans: Toasting absolutely boosts the flavor, but sometimes I forget. It’s fine!
- Don’t be shy with flaky salt up top — the sweet needs it.
Variations I’ve Tried (And Some Regrets)
- Once swapped in walnuts and a good glug of bourbon instead of vanilla — not bad, but the maple gets lost a bit.
- Did a chocolate drizzle thing on top. Messy, but if you love sweet-on-sweet, it’s fun.
- Tried doubling the recipe for a big party. Didn’t set quite right in a 9×13 pan — probably should’ve baked it longer (or not rushed it for the last episode of Bake Off).
What You Need (And Kitchen Hacks If You Don’t Have It)
- 8×8 inch baking pan (9×9 works, just bars will be shorter)
- Mixing bowls (one small, one medium, or hey, wash one halfway through – that’s what I do)
- Whisk or fork (I’ve mixed batters with a spoon before. It’s fine.)
- Parchment paper (or, in an emergency, buttered foil…but honestly parchment is ten times easier for cleanup)
Don’t sweat it too much if you’re missing a fancy mixing tool — good old elbow grease usually does the trick.

How to Store (Theoretically…)
Technically these will keep 4 days airtight at room temp, up to a week in the fridge (doubtful anyone will let them last that long). Bars freeze pretty well too, just pop ‘em in a baggie separated by wax paper. I think the flavor’s better the next day, but can’t swear anyone in my house has managed to wait that long.
Serving Ideas (Just How We Do It)
I usually serve them as-is, but my uncle piles on whipped cream (doesn’t even bother pretending it’s homemade). A scoop of vanilla ice cream is also ridiculously good, especially if you lightly rewarm the bar first. We once stuck a sparkler in the pan for my cousin’s half-birthday — it was a hit, but the bars don’t need much gussying up, honestly. Oh, and strong coffee on the side never hurts.
Wouldn’t Call These “Pro Tips” But…
- I tried to rush the cooling once (zero patience, honestly) and wound up with a sticky disaster. Just wait.
- If you use cheap maple syrup, it gets kind of artificial. On second thought, better to use less but better maple than water-y stuff.
- Don’t try to cut while they’re warm unless you love sticky knives and mangled bars (some people do, honestly).
Questions I Actually Get (Mostly From My Mum)
- “Do I really need to toast the pecans?”
- No, but it does wake them up flavor-wise. I tend to forget, so you’re good either way.
- “My bars came out kind of runny – what gives?”
- Could be underbaked or too much syrup. Let them cool longer (or eat them with a fork, I won’t judge!)
- “Can I use a bigger pan?”
- Yep, just bake for less time. Bars’ll be thinner, but that’s not a tragedy.
- “How do you cut them neatly?”
- Chill for a bit, then use a hot knife. Or just embrace wonky pieces – they’re still going to taste great.
- “I don’t have maple syrup, can I just use honey?”
- Sort of. Honey brings a different flavor (and is stickier). Still good, but, you know, different vibe.
- “Butter vs. margarine?”
- Butter. I have tried both, but margarine makes the crust taste a bit sad. Unless it’s all you have, in which case, go for it!
And here’s my last digression: one time I made these for a bake sale, and a little kid offered to trade me her sticky handprint drawing for another bar. I said yes, because honestly, those handprints outlast any batch of salted maple bars.
Ingredients
- 1 cup unsalted butter, softened
- 2 cups all-purpose flour
- 1/2 cup granulated sugar
- 1/2 teaspoon salt
- 1 1/2 cups pecan halves
- 3/4 cup pure maple syrup
- 1/2 cup packed brown sugar
- 2 large eggs
- 2 teaspoons vanilla extract
- 1/2 teaspoon flaky sea salt, for topping
Instructions
-
1Preheat the oven to 350°F (175°C). Line a 9×13-inch baking pan with parchment paper.
-
2Prepare the crust: Beat together the softened butter, flour, granulated sugar, and 1/4 teaspoon salt until crumbly. Press the mixture evenly into the prepared pan.
-
3Bake the crust for 15 minutes, or until lightly golden. Remove from the oven and set aside, leaving the oven on.
-
4In a medium bowl, whisk together the maple syrup, brown sugar, eggs, vanilla extract, and remaining 1/4 teaspoon salt until smooth. Fold in the pecan halves.
-
5Pour the pecan mixture over the warm crust. Return to the oven and bake for 20 minutes, or until the filling is set and slightly golden.
-
6Cool completely in the pan, then sprinkle with flaky sea salt. Cut into bars and serve.
Approximate Information for One Serving
Nutrition Disclaimers
Number of total servings shown is approximate. Actual number of servings will depend on your preferred portion sizes.
Nutritional values shown are general guidelines and reflect information for 1 serving using the ingredients listed, not including any optional ingredients. Actual macros may vary slightly depending on specific brands and types of ingredients used.
To determine the weight of one serving, prepare the recipe as instructed. Weigh the finished recipe, then divide the weight of the finished recipe (not including the weight of the container the food is in) by the desired number of servings. Result will be the weight of one serving.
Did you make this recipe?
Please consider Pinning it!!