Pumpkin Pie Crisp: A Cozy, Crunchy Fall Favorite You’ll Love
How I Ended Up Making a Pumpkin Pie Crisp (And Why I Keep Coming Back to It)
You know those nights when you want something cozy but don’t want to mess around with pie crusts that refuse to behave? Well, that’s how I first stumbled onto this Pumpkin Pie Crisp recipe. It started because I’d promised dessert but, as usual, lost track of time scrolling through ridiculous cake hacks (don’t fall for the one with the spaghetti—I’m just saying). My gran used to make a killer pumpkin pie every Thanksgiving, but honestly, pastry and I have a complicated relationship. So, I dreamed up this shortcut. And, get this: everyone loves it more than regular pumpkin pie. Even my picky cousin! Plus, the crisp on top is like autumn in a bowl, and you don’t have to stress if it looks a bit rustic. In fact, that’s half the charm.
Why I Can’t Stop Making This (and Why My Neighbors Keep Asking for It)
I make this whenever there’s an emergency craving for pumpkin (so, like, all of October and November…). My family goes crazy for Pumpkin Pie Crisp because, apparently, the crunchy topping is addictive—their words, not mine! I used to get so frustrated trying to make that neat, magazine-worthy crust, but here I just throw things together and somehow it always works. (Just keep an eye on your oven. I once forgot and ended up with something that could’ve doubled as a hockey puck—lesson learned.)
Gathering Ingredients (Plus My Cheeky Substitutions)
- 1 can (15 oz/425g) pumpkin puree (sometimes I go wild and roast fresh pumpkin, but the canned stuff is what I use 95% of the time—no shame!)
- 3/4 cup white sugar (I’ve also used brown sugar when I was out of white, and actually, I think it might be even better)
- 2 large eggs (or “a couple eggs” if you’re like me and always guess)
- 1 cup evaporated milk (whole milk works too—my grandmother always insisted on Carnation, but honestly any version works fine)
- 1 tablespoon pumpkin pie spice (or just guess—nutmeg, cinnamon, ginger, cloves—if you like spicy, throw in a bit more cinnamon)
- 1/2 teaspoon salt
- For the crisp topping:
- 3/4 cup quick oats (I’ve used rolled oats when it’s what I’ve had—just gives it more bite)
- 1/2 cup all-purpose flour
- 2/3 cup packed brown sugar
- 1/2 cup cold butter, cubed (or margarine if that’s what’s left in the fridge)
- Optional: a handful of chopped pecans or walnuts (no pressure, though—sometimes I leave them out and nobody complains)
How I Actually Throw It All Together
- First, crank up the oven to 350°F (180°C). If you forget to preheat, don’t panic—just let your crisp wait an extra minute or two later.
- Grab a medium bowl and beat the eggs a little (I usually do this with a fork; no need for anything fancy). Stir in pumpkin puree, sugar, evaporated milk, pumpkin pie spice, and salt. Give it a good mix—it looks kind of gloopy at this stage. Don’t worry, it always does!
- Pour all that pumpkin mixture into a greased 9×9-inch baking dish. Sometimes I use a slightly larger dish if I’m expecting company and want thinner layers—honestly, it’s pretty forgiving.
- Now, the topping: In another bowl, mix oats, flour, brown sugar, and butter. I sometimes use my fingers to rub the butter in (let’s be real: less washing up). Add those nuts if you’re feeling fancy. Scatter the topping unevenly over the pumpkin layer—it can look lumpy, no biggie.
- Bake for 40-50 minutes until the topping’s golden and the middle’s just a bit wobbly. (This is where I usually sneak a taste—careful, it’s hot!)
- Let it cool a little, mostly because if you don’t, you’ll burn the roof of your mouth and then everything tastes like regret.
Stuff I’ve Learned (Sometimes the Hard Way)
- Actually, I find it works better if you use cold butter for the topping—otherwise it goes a bit greasy. Live and learn, right?
- If you don’t have evaporated milk, whole milk is fine, but go easy on it. Tried almond milk once and, eh, it was a bit runny (so maybe don’t risk it unless you’re dairy-free).
- Confession: Leftover crisp is surprisingly decent for breakfast (just ask my husband who keeps eating it before I’m up).
Variations and My Experiments (Some Went Weird…)
- I swapped pecans for coconut once—tasted like one of those tropical fall mashups? Not bad, just… odd.
- If you’re watching sugar, I’ve swapped half the sugar for maple syrup and it still works well, maybe a bit softer.
- Honestly, I tried doubling the oats and skipping the flour once and it made the topping a little too chewy—wouldn’t recommend that.
Equipment: What You Need (and What You Can Improvise)
- 9×9-inch baking dish (a pie pan totally works too, or even a round cake tin in a pinch—done it, survived)
- Mixing bowls
- Fork or whisk
- If you don’t have a pastry cutter for the topping—your hands are just fine (bonus: less to clean). An old butter knife also does the trick.
How Long Does It Last? (Or, Does It Even?)
Technically, you can keep pumpkin pie crisp in the fridge in an airtight container for up to 3 days. But honestly, in my house it never lasts more than a day! If you do have leftovers, pop them in the microwave for a few seconds—they’re pretty good warm or cold.
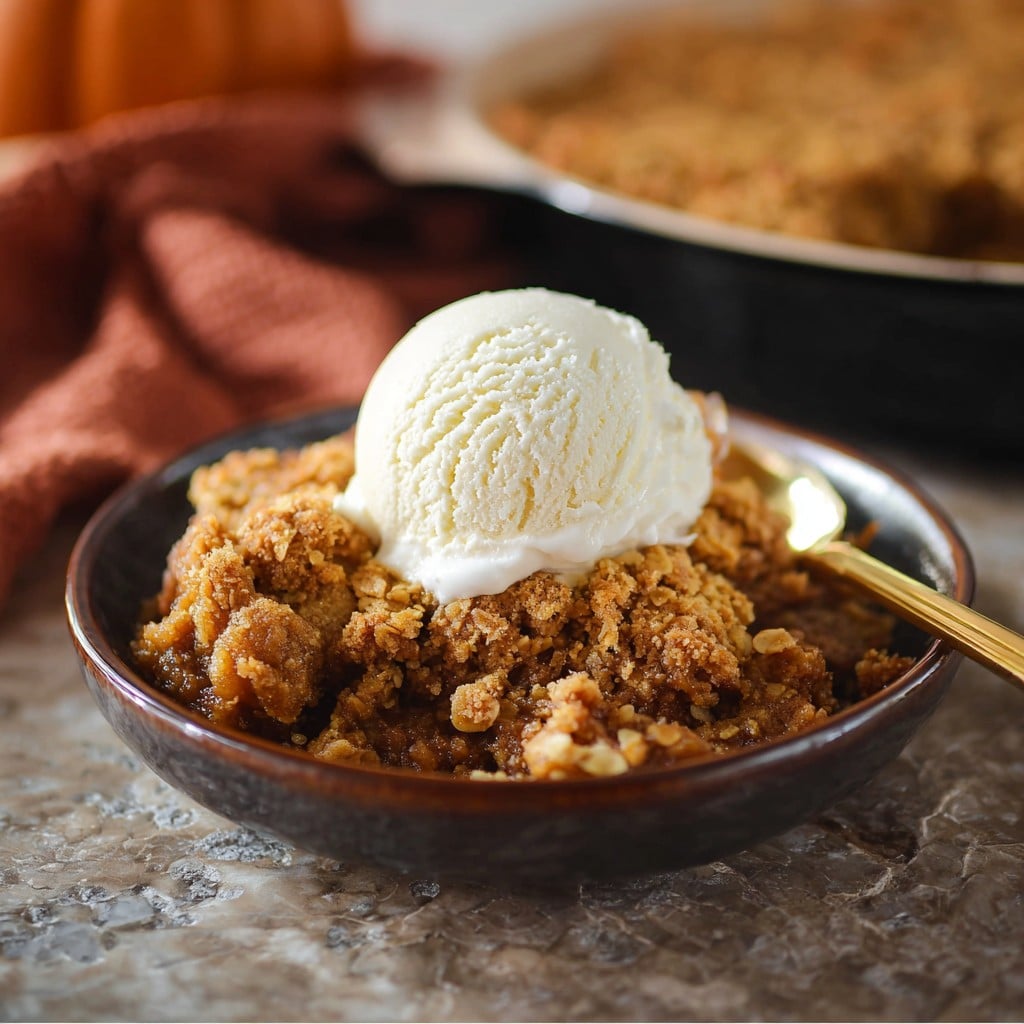
Serving It Up—Family Traditions Included
We like ours with a scoop of good vanilla ice cream (sometimes I get fancy and do a drizzle of caramel, but honestly, just ice cream is ace). My sister likes her share with extra chopped nuts on top—never enough crunch for her. And I always eat it out of a bowl; plates are for people with steadier hands than mine.
The Things I Wish I’d Known (So You Don’t Have To Cry Over Spilled Pie)
- I once tried rushing the cooling step and regretted it because the filling just kind of oozed everywhere—give it 15 minutes to set.
- If your topping looks too pale, a quick blast under the broiler fixes it—but watch like a hawk or you’ll scorch it (done that, too…)
FAQ: Questions I Get All The Time (And Honest Answers)
- Can you make this ahead? Yep, no worries; actually, I think it tastes better the next day, flavors sort of meld together. But don’t add the topping until right before baking if you want it extra crisp.
- Gluten-free option? Sure thing. Swap the flour for your favorite GF blend—my mate recommends King Arthur’s—just be sure your oats are certified GF. (Here’s a handy gluten-free guide that helped me!)
- Can you freeze it? Yeah, technically. But, it gets a bit mushy on thawing. If you must, freeze the filling and topping separately, then bake when you’re ready.
- Sugar substitute? Sure, try coconut sugar or even half honey, half sugar. But, on second thought, don’t skip all the sugar or it ends up tasting a little like squash casserole. No thanks!
- Where can I find pumpkin puree outside the US? Good question! Try international or specialty stores (or online shops—I’ve had luck with Amazon). Or, roast and mash your own pumpkin.
And just, a side note that has nothing to do with pumpkin: I recently found this pumpkin bar recipe on Smitten Kitchen that’s a cousin to this crisp, if you want to branch out. Anyway, bake what makes you happy—there’s no point fussing over a little spilled milk or a too-caramelized edge. Keep calm and pumpkin on!
Ingredients
- 1 can (15 oz) pure pumpkin puree
- 3/4 cup granulated sugar
- 2 large eggs
- 1 cup evaporated milk
- 1 teaspoon vanilla extract
- 2 teaspoons pumpkin pie spice
- 1/4 teaspoon salt
- 1 cup old-fashioned oats
- 1/2 cup all-purpose flour
- 1/2 cup packed brown sugar
- 1/2 cup unsalted butter, melted
Instructions
-
1Preheat oven to 350°F (175°C). Lightly grease a 9-inch baking dish.
-
2In a large bowl, combine pumpkin puree, granulated sugar, eggs, evaporated milk, vanilla extract, pumpkin pie spice, and salt. Whisk until smooth.
-
3Pour the pumpkin mixture into the prepared baking dish and spread into an even layer.
-
4In another bowl, mix oats, flour, brown sugar, and melted butter until crumbly. Sprinkle evenly over the pumpkin filling.
-
5Bake for 40 minutes, or until the topping is golden brown and the filling is set. Allow to cool slightly before serving.
Approximate Information for One Serving
Nutrition Disclaimers
Number of total servings shown is approximate. Actual number of servings will depend on your preferred portion sizes.
Nutritional values shown are general guidelines and reflect information for 1 serving using the ingredients listed, not including any optional ingredients. Actual macros may vary slightly depending on specific brands and types of ingredients used.
To determine the weight of one serving, prepare the recipe as instructed. Weigh the finished recipe, then divide the weight of the finished recipe (not including the weight of the container the food is in) by the desired number of servings. Result will be the weight of one serving.
Did you make this recipe?
Please consider Pinning it!!