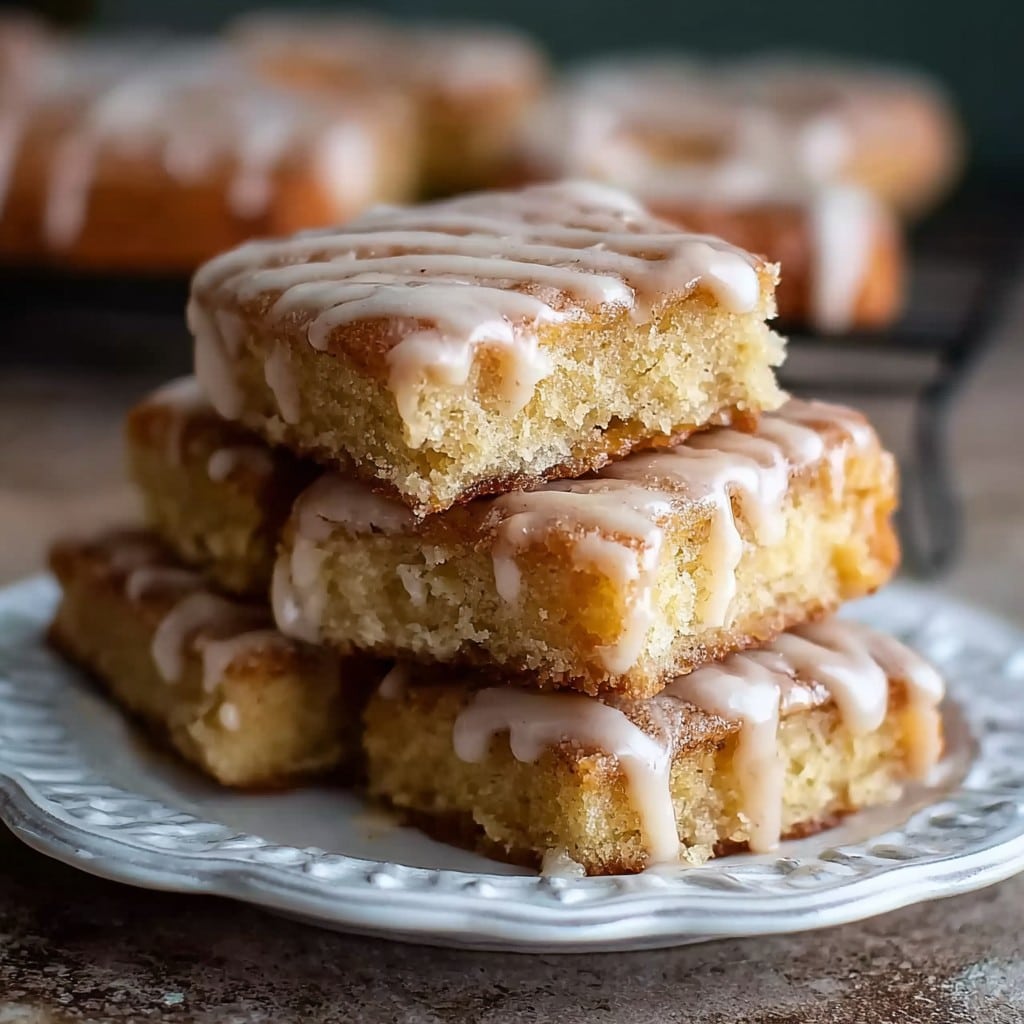
Old-Fashioned Buttermilk Donut Bars: Maple Vanilla Glaze Joy
Let Me Tell You About These Donut Bars…
You know how sometimes you bite into something and you’re just—bam—teleported straight back to your grandma’s kitchen? That’s exactly what these Old-Fashioned Buttermilk Donut Bars with Brown Butter Maple Vanilla Bean Glaze do for me. I tried the recipe the first time during a snowy Minnesota morning when the roads were as treacherous as a squirrel on espresso (seriously, don’t ask). Anyway, my daughter and I couldn’t make it to the donut shop, so we got creative and made our own. She was in charge of sprinkles; I was in charge of, well, not burning the butter (I swear, it happened only once… maybe twice). It turned out so well, I’ve lost track of how many times we’ve made them since.
Why You’re Gonna Love These Bars
I usually whip up a batch when my family starts dropping subtle hints like leaving empty donut boxes on the counter. There’s something about the tangy buttermilk in the bars and the nutty warmth of browned butter in that maple glaze—my family goes absolutely bonkers for these. And honestly, they save me from another frustrating Saturday spent hunting for the one bakery that hasn’t run out (trust me, it’s a thing here come 10 a.m.). If you’re anything like me and don’t love fussing with donut holes, making bars just feels easier. Less flipping, more dunking. (Pajamas optional, but recommended.)
Stuff You’ll Need (with My Not-So-Secret Swaps)
- 2 2/3 cups all-purpose flour (sometimes I swap in 1/2 cup whole wheat if I’m feeling noble… or out of regular)
- 3/4 cup sugar—granulated, but once I mixed in some turbinado because it’s what was left
- 1 1/2 tsp baking powder
- 1/2 tsp baking soda
- 1/2 tsp fine sea salt (or Kosher, that’s fine)
- 1/2 tsp ground nutmeg (my grandma always insisted on freshly grated, but honestly the jarred stuff works too)
- 2 large eggs
- 1 cup buttermilk (no buttermilk? Mix a cup of milk with a big splash of lemon juice and let it sit for a few min)
- 4 tbsp unsalted butter, melted (if you only have salted, just cut back a smidge on the salt in the dry mix)
- 1 1/2 tsp vanilla extract
For the glaze:
- 4 tbsp unsalted butter
- 2 cups powdered sugar
- 3 tbsp pure maple syrup
- 1 tsp vanilla bean paste (extract is totally okay—sometimes I can’t be bothered either)
- Pinch of salt
- 2-3 tbsp milk or cream (depends on how thick you want the glaze to be)
How I Make Them (And How You Can Too)
- Prep and line: Crank the oven up to 350°F (180°C). Grab a 9×13-inch pan and line it with parchment paper—makes life easier. Or just grease it well if you’re feeling rebellious.
- Mix the dry good stuff: In one big bowl, whisk the flour, sugar, baking powder, soda, salt, and nutmeg. I always think I’ll forget an ingredient at this step, but so far so good (famous last words?).
- Wet things up: In another bowl—smaller this time (unless you hate extra dishes)—beat the eggs and add buttermilk, melted butter, and vanilla. Give it a quick mix. Looks a bit odd, but it’s fine.
- Combine! Pour your wet ingredients into the dry. Stir it up until just combined. Don’t worry if it’s a little lumpy. Overmixing is the enemy here! This is where I usually sneak a little taste, you know, for science.
- Spread and bake: Plop the batter into your pan and spread it—it’s thicker than cake, almost like a stubborn brownie. Smooth it out; you might have to nudge it here and there with a spatula. Pop it in the oven for about 22–26 min. Toothpick should come out (mostly) clean. Actually, I find it works better if you check at 22 and go from there.
- Brown the butter for glaze: In a small saucepan, melt the butter on medium heat, swirling occasionally. It’ll foam, then go all nutty and brown pretty fast, so keep an eye out—I’ve burnt it enough times to know! As soon as it’s golden and smells amazing, pull it from the stove.
- Glaze it up: Whisk in the powdered sugar, maple syrup, vanilla bean paste, pinch of salt, and enough milk or cream to get a thick, pourable glaze. Tastes even better if you give it a minute to settle before spreading all over your (slightly cooled) bars.
- Slice and devour: Once the glaze is set enough not to make a total mess, cut into bars. Sneak one while still a touch warm; it’s absolutely legal.
Stuff I Learned—Some Notes
- Once, I accidentally used cold butter in the batter (don’t do that, it gets weirdly dense).
- If the glaze looks lumpy, just whisk a smidge more milk in. Or live dangerously; it’ll all get eaten anyway.
- Nutmeg adds that classic donut flavor; don’t skip it—but cinnamon works in a pinch!
Weird and Wonderful Variations
- Swapped maple for honey in the glaze once—results? Only so-so. I’d stick with maple for sure.
- Chopped some pecans on top for my mom; she called it “fancy.” (I think she just likes nuts.)
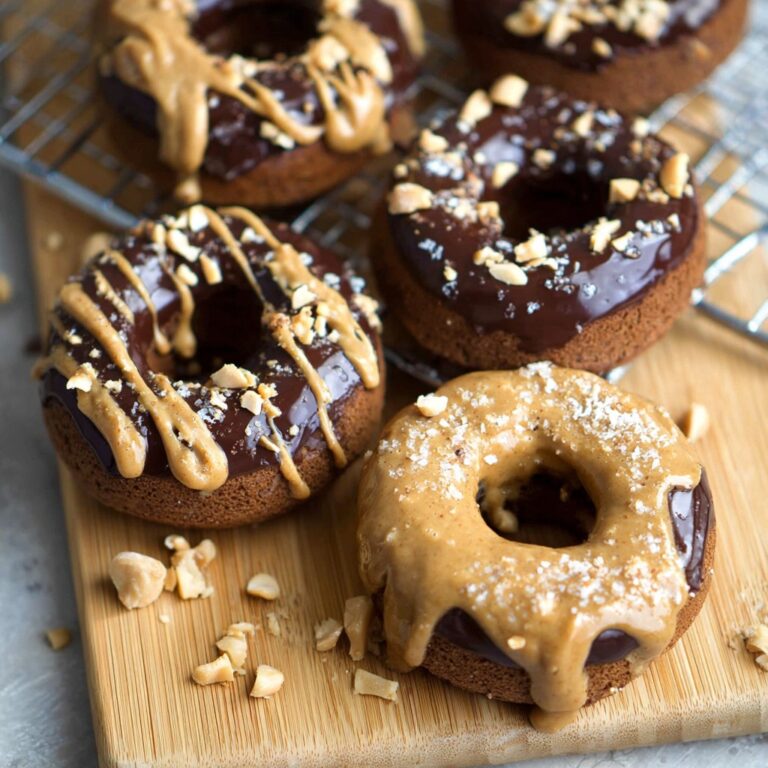
- Tried chocolate glaze out of curiosity. Uh, maybe not worth it; the brown butter-maple thing is the real winner.
What You’ll Need Equipment-Wise
- 9×13 baking pan—mine’s mostly straight sides, but whatever you’ve got works.
- Mixing bowls (you can totally use a big soup pot—a little weird but I’ve done it in a pinch!)
- Parchment paper (or grease really well—trust me, I’ve forgotten and regretted it)
- A good small saucepan for browning butter—if you don’t have one, just use whatever doesn’t burn stuff fast!
- Whisk and spatula
Do They Even Last? Storage Stuff
Store the donut bars in an airtight tin or a lidded container. They’re best within a couple days, but, honestly, in my house, they never last more than a day—sometimes not even until dinner! If you do have leftovers (you fancy person, you), the glaze does get a little softer but still tastes dreamy. I think they taste even better the next day, but my kids would strongly disagree.
Okay, What Do You Eat These With?
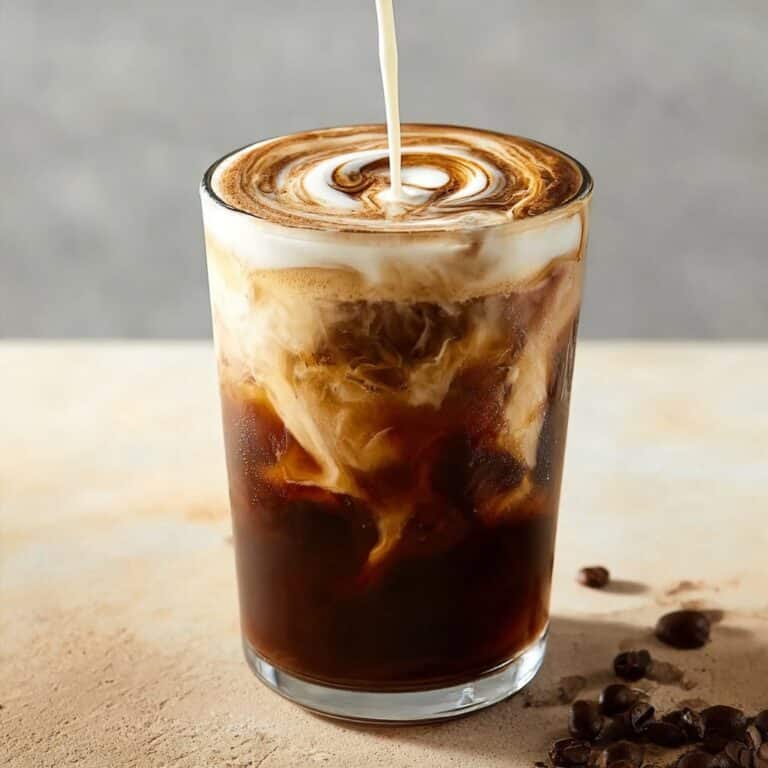
I’m a strong believer in donut bars for breakfast with a mug of overly strong coffee—just how my dad likes it. Or, if we’re feeling wild, a little scoop of vanilla ice cream on the side for dessert. My daughter swears by sprinkles on top (most of which end up on the floor instead—sorry, not sorry). Fun fact: once, we served them at a family brunch and they vanished faster than the bacon.
Pro Tips From a (Not So) Wise Baker
- I once tried to rush the cooling step for the glaze—not worth it, it just soaks right in and gets weirdly patchy.
- Actually, letting the bars cool 10–15 min before glazing makes a world of difference.
- Don’t overbake! If you’re unsure, err on the side of barely done—they’ll keep baking after coming out.
- Oh, and don’t sub out the buttermilk unless you really have to. The flavor is just so much better with it.
FAQs from People Who’ve Actually Eaten These
Can I freeze them? Yep! Slice and wrap well—freeze for up to a month. They’re not quite as lovely thawed, but still better than a lot of store ones.
What if I don’t have vanilla bean paste? Use extract, or scrape the seeds from half a vanilla bean if you’re fancy. Don’t overthink it; both work great!
Why are my bars a bit dense? Could be overmixing, or maybe your baking powder’s on its way out—sniff test it next time? Also, cold butter is a no-go, trust me on this one.
Is there a gluten-free option? Okay, so my neighbor tried swapping the flour for a 1:1 gluten-free blend and said it worked just fine—your mileage may vary though. Maybe check Nicole Hunn’s gluten-free baking tips if you wanna go all-out.
Can I double the glaze? Honestly, yes, and I have—no regrets. It’s not a salad, after all.
Just a Quick Digression…
By the way, if you’re as obsessed with old-fashioned donut recipes as I am, you’ll probably enjoy reading about the origins of buttermilk baking—totally fascinating stuff over at King Arthur Baking. I get lost in their recipes for hours when I’m supposed to be doing actual work. Also, if you need a visual tutorial for brown butter, Serious Eats’ guide is pretty foolproof.
Anyway, hope you love these donut bars as much as we do! Don’t forget to sneak a bite or two when no one’s looking.
Ingredients
- 2 1/4 cups all-purpose flour
- 1/2 cup granulated sugar
- 2 tsp baking powder
- 1/2 tsp baking soda
- 1/2 tsp ground nutmeg
- 1/2 tsp salt
- 2 large eggs
- 1 cup buttermilk
- 1/4 cup unsalted butter, melted
- 1/2 tsp pure vanilla extract
- For the Glaze:
- 4 tbsp unsalted butter
- 1 cup powdered sugar
- 2 tbsp maple syrup
- 1/2 vanilla bean, seeds scraped
- 2-3 tsp milk (as needed)
Instructions
-
1Preheat the oven to 375°F (190°C). Grease an 8×8-inch baking pan and line with parchment paper.
-
2In a large bowl, whisk together the flour, granulated sugar, baking powder, baking soda, nutmeg, and salt.
-
3In a separate bowl, whisk together eggs, buttermilk, melted butter, and vanilla extract. Pour wet ingredients into dry ingredients and mix until just combined.
-
4Spread the batter evenly in the prepared pan. Bake for 16–18 minutes, or until a toothpick inserted in the center comes out clean. Let cool slightly, then cut into bars.
-
5For the glaze, melt butter in a saucepan over medium heat, stirring until it begins to brown and smell nutty. Remove from heat, add powdered sugar, maple syrup, vanilla bean seeds, and enough milk to achieve a pourable consistency. Whisk until smooth.
-
6Drizzle or spread the glaze over the warm donut bars and let set before serving.
Approximate Information for One Serving
Nutrition Disclaimers
Number of total servings shown is approximate. Actual number of servings will depend on your preferred portion sizes.
Nutritional values shown are general guidelines and reflect information for 1 serving using the ingredients listed, not including any optional ingredients. Actual macros may vary slightly depending on specific brands and types of ingredients used.
To determine the weight of one serving, prepare the recipe as instructed. Weigh the finished recipe, then divide the weight of the finished recipe (not including the weight of the container the food is in) by the desired number of servings. Result will be the weight of one serving.
Did you make this recipe?
Please consider Pinning it!!