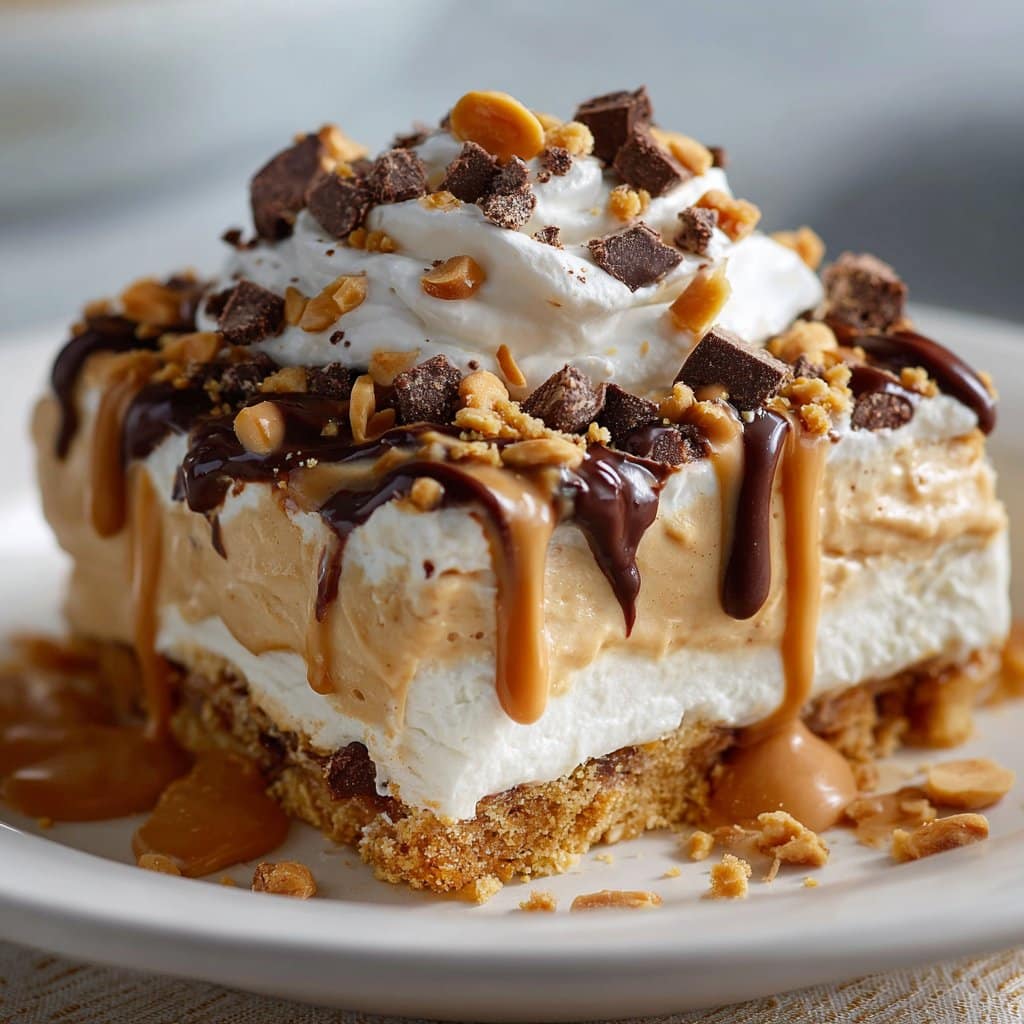
No-Bake Peanut Butter Lasagna: My Real Favorite Dessert Hack
You Know Those Desserts You Make on Repeat?
Let me just say—if you’re the sort who loves peanut butter (who isn’t, honestly?), this No-Bake Peanut Butter Lasagna will end up on your shortlist, too. The first time I made this, my cousin showed up two hours early for dinner, talking about “needing to help.” He ate almost half straight from the fridge. So, if your family is anything like mine—plus the dog hovering underfoot—disappearing desserts are a thing. Lazy afternoons, birthday parties, or, I dunno, just because it’s Tuesday and the sun came out. It’s that kinda recipe. And did I mention it’s a lifesaver when it’s 92°F inside?
I might’ve called it peanut butter dream, but let’s be real—lasagna just makes it sound ten times more fun at the potluck. Oh, and every time I try to cut a pretty square, I swear it finds a way to fall apart just a little…but maybe that’s part of the charm.
Why You’ll Love This Peanut Butter Lasagna (Or at least I do)
- I whip this up when I’m too knackered to bake and, honestly, nobody’s noticed the oven never came on. The no-bake life chose me.
- My family goes bananas for this—especially my brother, who’s basically turned it into an Olympic sport to see how much he can stash away before anyone else.
- (Not gonna lie) Sometimes I get annoyed at how many bowls it uses, but not enough to stop making it.
- Also, it’s one of those recipes that tastes gorgeously indulgent, but if you swap in light cream cheese? It’s still really good.
Here’s What You’ll Need (and My Random Swaps)
- 1 package (about 14 oz) chocolate sandwich cookies (like Oreos—my grandmother swore by the brand stuff; I just grab whatever’s on special)
- 1/2 cup melted butter (eh, salted or unsalted—I always forget which and it still works)
- 8 oz cream cheese, softened (the block kind is easier, but the tub’ll do in a pinch)
- 1 cup creamy peanut butter (sometimes I use crunchy if that’s all that’s left, but the texture is, hmm, interesting)
- 1 cup powdered sugar (I ran out once and used regular sugar, but it stayed a bit gritty. Not the worst, but not ideal)
- 2 cups thawed whipped topping (Cool Whip, but honestly the store generic tastes the same to me)
- 1 package (about 3.9 oz) instant chocolate pudding mix (every now and then I mess around with vanilla pudding—see below!)
- 2 cups cold milk (I’ve even tried oat milk, pretty decent except the pudding’s thicker than usual)
- Extra whipped topping and some chopped peanuts or crushed cookies (totally optional, but it looks like you put in effort)
How I Actually Make It (Directions, More or Less)
- Grab your favorite 9×13 pan. No, it doesn’t need to be fancy—I use an old Pyrex that’s seen better days.
- Crush up your cookies—food processor works best, but sometimes I just stick ’em in a big freezer bag and wallop them with a rolling pin. (Therapeutic, honestly!) Dump ’em in a bowl with melted butter, stir until it clumps. Press this into your pan and pat it down with whatever’s on hand—a flat measuring cup, your palm, the bottom of a mug.
- Mix up the softened cream cheese, peanut butter, and powdered sugar in a big mixing bowl. I do this with a hand mixer, but a wooden spoon (and strong arm) does the trick too. Once it’s smooth-ish (don’t stress if it’s a bit lumpy), fold in a cup of whipped topping. This is where I sneak a taste. No worries, you’re allowed.
- Plop that peanut butter mix onto your cookie crust and smooth it out. It’ll look a bit uneven—always does for me! Just make sure most of the bottom is hidden.
- Now, whisk pudding mix with cold milk for maybe a minute or two, until it thickens up. Pour this dreamy goo right over the peanut butter layer. Sometimes I wiggle the pan to level it.
- Slap on the rest of your whipped topping. Is it perfectly even? Not usually, but that’s fine. Sprinkle chopped peanuts (or more crushed cookies) if you’re feeling fancy.
- Chill the whole thing for at least 3 hours, honestly overnight is better (but I’ve cut corners and only managed an hour once; it still gets eaten, just a bit wobbly).
Notes That Took Me a Few Tries To Figure Out
- If you’re hand-crushing cookies, they don’t have to be powder—chunks add some crunch, which my toddler thinks is “funny surprise bits”
- One time I got really ambitious and added melted chocolate on top… but it went rock-hard and nobody could cut it. Lesson learned, lol
- I’ve used almond butter when we ran low on peanut butter. A bit of a different vibe but still tasty
Spin-Offs and “Oops” Moments (Aka Variations)
- Tried swapping in a Nilla Wafer crust. Tastes almost like a peanut butter pie. Not gonna win any beauty contests, though
- My half-baked idea: White chocolate pudding instead of chocolate. Actually… kinda bland, wouldn’t do it again
- Sometimes layer sliced bananas between peanut butter and pudding layer—a trick borrowed from this banana pudding recipe
Equipment (and the Down-to-Earth Workarounds)
- 9×13 inch pan (though, I’ve jammed everything in an 8×8 and just piled it higher—it worked)
- Hand mixer, but stirring by hand works, just gives your arm a proper workout
- Food processor for the cookies… but a rolling pin and some elbow grease does fine
- Big mixing bowls – or borrowing one from your neighbor if you forgot to do dishes. (Been there.)
Storing Leftovers—If There Are Any
So, theoretically, this keeps for 2-3 days in the fridge—covered, though honestly, in my house it never lasts more than a day! Once I tried freezing a slice to see what would happen. It tasted fine but the texture got a bit weird, kind of a chewy-cold thing. Wouldn’t do that again unless it was an emergency.
How We Serve It (Family Quirks Included)
We cut (or, um, scoop) into squares and serve cold—sometimes straight out of the pan if nobody’s around to witness. If it’s a celebration, I’ll add extra whipped cream and maybe a drizzle of chocolate syrup (the kind for ice cream, like this one). One aunt insists on eating hers with a fork and a spoon, which feels excessive, but hey, whatever floats your boat.
If I Could Go Back In Time—Pro Tips
- I once tried skipping the chilling step out of impatience. Just, don’t. It was a (delicious) mess. It needs cold time to set, or you’ll be picking up pudding blobs with your hands.
- If you forget to soften cream cheese, zap it in the microwave for 20 seconds—but check every 10 seconds or it’ll melt (ask me how I know…)
- It tastes even better the next day after the flavors get to know each other.
Your Actual Questions—FAQ Time
- Can I make it gluten-free?
- Definitely. Just use gluten-free chocolate sandwich cookies. They usually taste about the same, especially once you’ve layered a bunch of flavors on top.
- Do I have to use Cool Whip?
- Nope—homemade whipped cream (here’s my favorite recipe) works, just remember it won’t stay as fluffy for as long. Sometimes I do half and half.
- What if I hate peanuts?
- Well, this probably isn’t your dessert (lol). But almond butter or even Nutella is a wild twist. Again—not quite the same, but not bad either.
- How do you keep the layers neat?
- Oh, I don’t! (Joking, sort of.) If you want crisp edges, chill overnight and use a hot knife. Or just embrace the mess like I do.
That about does it! If yours turns out looking a bit sideways, you’re in good company. Just means you did it yourself. Enjoy, and if you end up with peanut butter on your nose, well, you’re living right.
Ingredients
- 24 chocolate sandwich cookies, crushed
- 1/4 cup unsalted butter, melted
- 1 package (8 oz) cream cheese, softened
- 1 cup creamy peanut butter
- 1 cup powdered sugar
- 2 cups whipped topping, divided
- 1 box (3.9 oz) instant chocolate pudding mix
- 2 cups cold milk
- 1/3 cup mini chocolate chips (optional, for topping)
Instructions
-
1In a medium bowl, combine crushed chocolate sandwich cookies and melted butter. Press the mixture evenly into the bottom of a 9×13 inch pan to form the crust.
-
2In a separate bowl, beat cream cheese, peanut butter, and powdered sugar until smooth. Fold in 1 cup of whipped topping. Spread this peanut butter mixture over the cookie crust.
-
3In another bowl, whisk together instant chocolate pudding mix and cold milk for 2 minutes until thickened. Spread the pudding evenly over the peanut butter layer.
-
4Top with the remaining 1 cup of whipped topping, spreading it evenly over the pudding layer.
-
5Sprinkle mini chocolate chips over the top for garnish, if desired. Refrigerate the lasagna for at least 2 hours before serving to allow it to set.
Approximate Information for One Serving
Nutrition Disclaimers
Number of total servings shown is approximate. Actual number of servings will depend on your preferred portion sizes.
Nutritional values shown are general guidelines and reflect information for 1 serving using the ingredients listed, not including any optional ingredients. Actual macros may vary slightly depending on specific brands and types of ingredients used.
To determine the weight of one serving, prepare the recipe as instructed. Weigh the finished recipe, then divide the weight of the finished recipe (not including the weight of the container the food is in) by the desired number of servings. Result will be the weight of one serving.
Did you make this recipe?
Please consider Pinning it!!