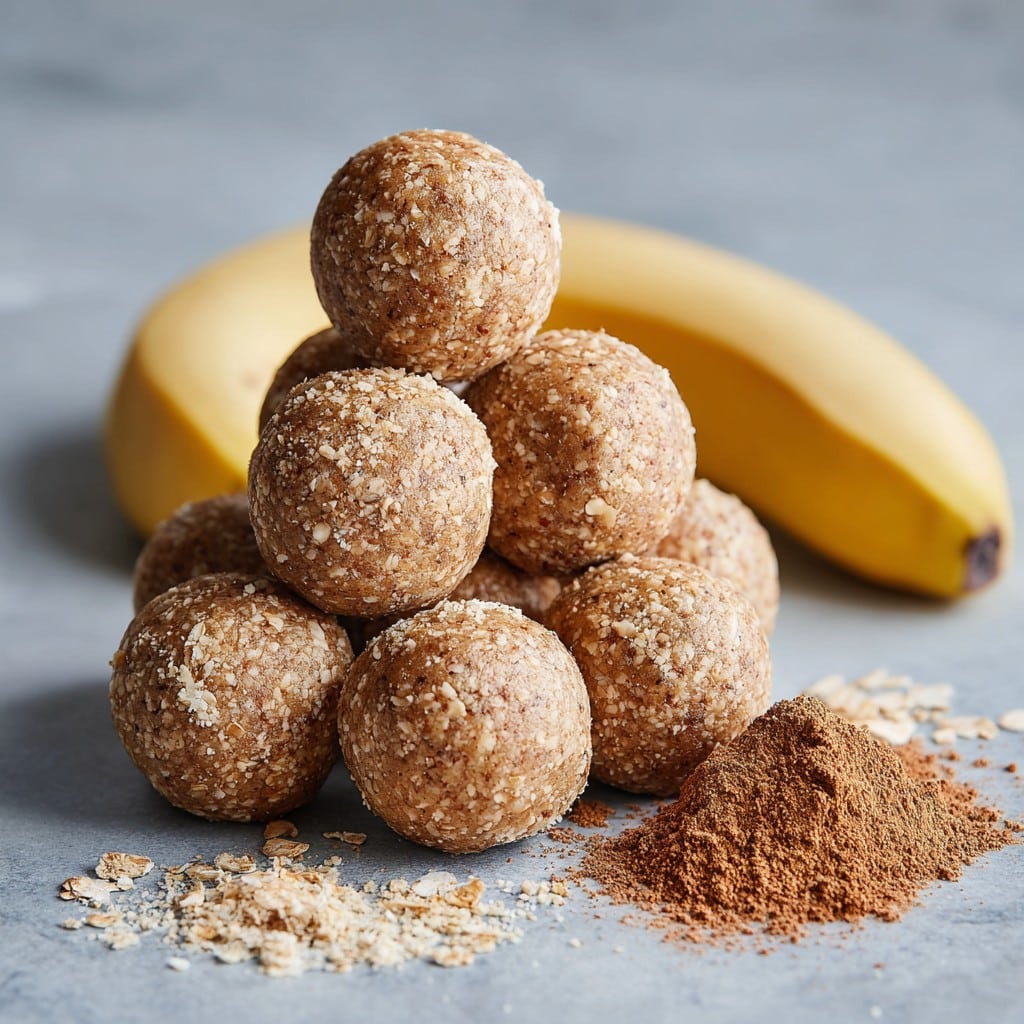
No-Bake Banana Cinnamon Energy Bites (Easy & Fun Guide)
Right, Let’s Chat About No-Bake Banana Cinnamon Energy Bites
Okay, so the first time I made these banana cinnamon energy bites, it was honestly less about healthy snacking and more because I’d bought bananas again (do they multiply in the kitchen?), and they were going a bit too spotty for my liking. My niece was helping out, giggling every time the oats flew out of the bowl—which is, by the way, inevitable if you get over-enthusiastic stirring like we do. Anyway, now they’re the cousin favorite at family gatherings. Oh, and my dad calls these “banana doodads” (no clue why, but it stuck).
Why I Keep Making These (Even on Messy Days)
I make this when the clock says “snack o’clock” and I want something that isn’t just another sad carrot stick. My family goes a bit wild for these because they’re bite-sized, actually sweet (but not in a sugar bomb sort of way), and you can just grab ’em as you pass through the kitchen. Plus, if you’ve ever tried to bake in the peak of summer, you know avoiding the oven is a blessing. (Real talk, I once melted half a tray of chocolate chips straight on the counter. Not my finest moment.)
Here’s What You’ll Need (And How I Sometimes Swap Stuff)
- 1 large ripe banana, mashed (spottier the better, but not too black—unless you’re into that. Grandad swore by it.)
- 1 cup old-fashioned oats (sometimes I just grab whatever oats aren’t buried in the back. Quick oats work but they’re softer; steel-cut… not so much)
- 2 heaping tablespoons peanut butter (I’ve used almond butter in a pinch, honestly didn’t notice much difference, but chunky gets a bit weird in the mix)
- 1/2 teaspoon ground cinnamon (or more if you fancy, I actually measure with my eyes half the time)
- 3 tablespoons honey or maple syrup—depends if I’m pretending it’s health food
- Pinch of salt (optional, but I think it does make the flavors pop—it’s the secret handshake of sweet snacks)
- 1/3 cup mini chocolate chips or chopped dark chocolate (highly encouraged, though my mate Ruth swears raisins are better—she’s wrong, but try if you want!)
- Optional: 2 tablespoons flaxseed meal or chia seeds for an extra fiber boost (I forget these half the time, it’s fine)
How I Usually Slap These Together (Don’t Stress the Details)
- Mash the banana. Just toss it in a big mixing bowl and go to town with a fork. It’s fine if there are some lumps. It’ll all come together in the end (even if it looks a bit like baby food at this point).
- Add everything else. Oats, peanut butter, honey/maple, cinnamon, salt, flaxseed or chia if you remember, and the chocolate chips. Stir it up! This is where about 20 percent of the mix wind up outside the bowl at my house. If it feels too sticky, chuck in a few more oats (I kinda eyeball it, honestly).
- Chill for ten-ish minutes. I usually get impatient and make the balls right away, but chilling makes rolling way less messy. Up to you. Have a cuppa while you wait, or scroll the news—just don’t forget about it entirely; I did once, and the mix turned into a weird oat brick.
- Roll into bites. A heaped tablespoon each, or about golf-ball-ish size. Wet your hands a bit if it’s sticking—or, just embrace sticky fingers, that’s part of the fun. Oh, try not to eat all the dough at this stage. Unless you want to, then I’m not judging.
- Pop them on a tray or plate lined with parchment. Sneak another taste, just to check they’re as good as they smell. Chill them in the fridge for at least twenty minutes if you can wait. But warm is… actually, pretty delicious too.
Stuff I’ve Learned From Trial and (a Bit of) Error
- If you over-mash the banana, sometimes things turn extra sticky – just toss in more oats until it feels right.
- The mini chips tend to hold together better than regular ones (and don’t cause as many mid-roll explosions!).
- Leaving out the salt once made these taste a bit flat; a little pinch goes a long way, even though nobody’s ever spotted it specifically.
How I’ve Messed With This Recipe (A Tale of Success and Failure)
- Once I added a shake of pumpkin pie spice instead of just cinnamon (it was mid-Autumn and I got swept up)—very good, a bit like fall in a bite.
- Tried coconut flakes once… Not sure if it was the flakes or just the batch, but the texture went a bit odd. Maybe I’ll try toasted coconut next time?
- Have swapped sunflower seed butter for PB (nut free, decent flavor, kids didn’t notice), and maple syrup when I was out of honey (just as tasty, a tad runnier mix, though).
What You’ll Need (Or Improvise… It’s Cool)
- Big mixing bowl
- Fork or masher—or in a pinch, clean hands work (it’s honestly a bit therapeutic)
- Tablespoon and cup, but you can wing these if you’re confident (I once used a coffee mug as a measure – close enough)
- A plate or tray for chilling (baking sheet is fancy, but a dinner plate does the trick)
In case you’re browsing for a good flexible mixing bowl, Epicurious did a good rundown here.
How I Store Them (Sort Of; They Rarely Last Long)
Technically, these store in an airtight container in the fridge for four days; in my house, they disappear by the end of the day (don’t tell me it’s just us). But on the odd chance you’re more disciplined, they stay fresher in the fridge, and you can even freeze ’em for a month or so—just grab and go, maybe let them sit at room temp for a minute so you don’t chip a tooth.
Some Ways I Like to Serve ‘Em (And What the Family Loves)
So I’ll pop a couple in the lunchbox, or grab a few before a quick walk (dog optional). My sister-in-law crumbles them over yogurt for a kind of breakfast parfait—she says it’s the perfect sweet crunch, and honestly, I can’t argue.
Pro Tips I Learned the Hard Way
- I once tried rushing the chill step—ended up with squished blobs instead of neat bites. Don’t be like me in a hurry; that ten minute wait is worth it.
- Overloading with chocolate (I know, is that even a thing?) can make these way too sweet. Less is, surprisingly, more.
- Parchment paper really does make cleanup so much easier, but if you forgot to buy some, just lightly oil the plate.
A Few Real Questions I’ve Gotten (Or Have Asked Myself)
- Q: Can I skip the peanut butter?
- Sure, swap in sunflower, almond, or even tahini. If you leave it out completely, you’ll need something else sticky—I did it once with more mashed banana and a spoon of coconut oil, and the texture was okayish but softer.
- Q: Are these energy bites gluten-free?
- Yeah, if you grab gluten-free oats (some are cross-contaminated, so check labels). I learned the hard way making these for a celiac mate.
- Q: Can I double the batch?
- Absolutely, just use a bigger bowl and maybe a bit of elbow grease. Honestly, you’ll wish you had.
- Q: Is it alright to use overripe bananas?
- Actually, yes! The riper, the better for sweetness (just don’t use ones that are… fuzzy, if you know what I mean).
- Need other snack ideas?
- I’m a big fan of Love & Lemons’ energy ball variations and Pinch of Yum’s snack list, by the way.
Anyway, that’s pretty much it—though if you find yourself sneaking extra chocolate or skipping the salt, I promise these No-Bake Banana Cinnamon Energy Bites forgive almost anything. Plus, they’re perfect for those days you want something sweet and filling but can’t be bothered faffing with the oven (or cleaning up, let’s be honest). Now, if only the bananas in my fruit bowl would quit multiplying overnight…
Ingredients
- 1 cup rolled oats
- 1/2 cup mashed ripe banana (about 1 large banana)
- 1/3 cup natural peanut butter
- 1/4 cup honey or maple syrup
- 1/2 teaspoon ground cinnamon
- 1/3 cup mini chocolate chips
- 1/4 cup chia seeds
- 1 teaspoon vanilla extract
- Pinch of salt
Instructions
-
1In a large mixing bowl, combine the rolled oats, ground cinnamon, chia seeds, and salt.
-
2Add the mashed banana, peanut butter, honey (or maple syrup), and vanilla extract to the dry ingredients.
-
3Stir the mixture well until all ingredients are fully incorporated and a sticky dough forms.
-
4Fold in the mini chocolate chips until evenly distributed throughout the mixture.
-
5Using your hands, roll the mixture into small bite-sized balls and place them on a lined tray.
-
6Refrigerate the energy bites for at least 30 minutes to firm up before serving. Enjoy!
Approximate Information for One Serving
Nutrition Disclaimers
Number of total servings shown is approximate. Actual number of servings will depend on your preferred portion sizes.
Nutritional values shown are general guidelines and reflect information for 1 serving using the ingredients listed, not including any optional ingredients. Actual macros may vary slightly depending on specific brands and types of ingredients used.
To determine the weight of one serving, prepare the recipe as instructed. Weigh the finished recipe, then divide the weight of the finished recipe (not including the weight of the container the food is in) by the desired number of servings. Result will be the weight of one serving.
Did you make this recipe?
Please consider Pinning it!!