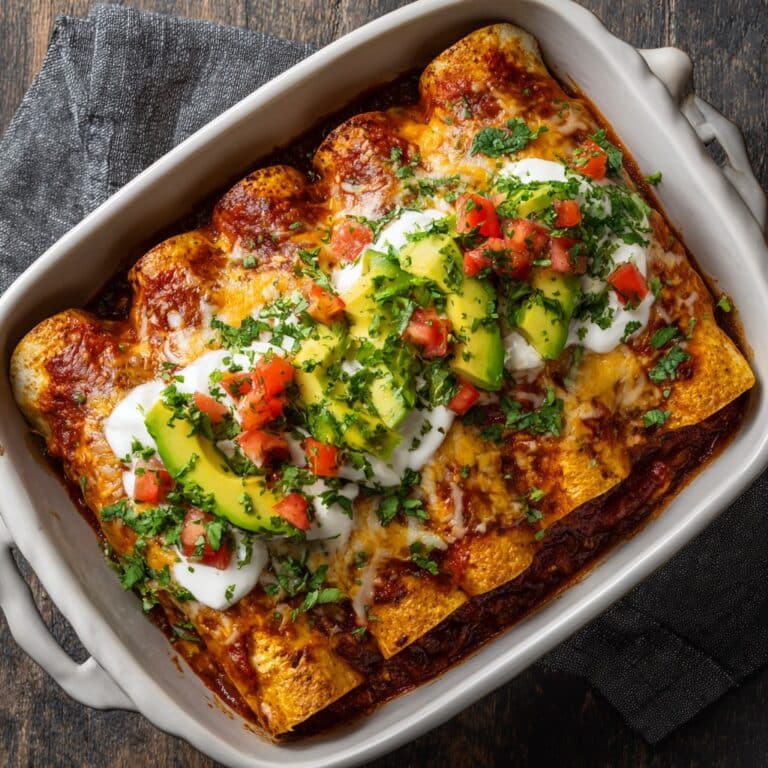
Gluten Free Loaded Burger Bowls: My Real-Life Recipe Guide
Let Me Tell You How These Burger Bowls Happened
So, picture this: one summer BBQ, I’d run completely out of burger buns (chalk that one up to teenage sons who snack like it’s an Olympic event), and I just sort of had to roll with the madness. Tossed the burger fixings straight into bowls with a bit of salad, a heap of cheese, whatever toppings I could scrounge, and called it dinner. And—surprisingly—no one even missed the buns. Actually, now it’s the only way we do “burgers” on weeknights. The kitchen stays a heck of a lot cleaner too, if you ask me. Still, the first time I made it, I was properly worried the “lettuce bowl situation” wouldn’t cut the mustard. Turns out, I overthink things; the family scarfed it down.
And hey, it’s gluten free without even trying too hard. If you’re ever faced with a bunch of hungry people and a bun shortage, trust me—this is your hail Mary.
Why You’ll Probably Love This (or, Reasons I Keep Making It)
I make these on lazy Tuesday nights (when everyone’s schedules are bananas) because you can toss in almost anything lingering in the fridge. My partner claims it “tastes like the best parts of a burger—just more to eat.” I’m pretty sure it’s the only salad my youngest will eat without a grumble. I suppose it’s a bit of a cheat—no precise stacking, no bun crumbs everywhere (except, oddly, some weeks my kids miss the crumbs). If you ask me, it’s a dinner miracle. I used to fuss over making everything “from scratch” for burger night, but with these bowls, store-bought toppings or even those crispy onions from a tin? Absolute time savers! I only learned that after almost setting fire to the toaster with gluten free bread crumbs, but that’s another story.
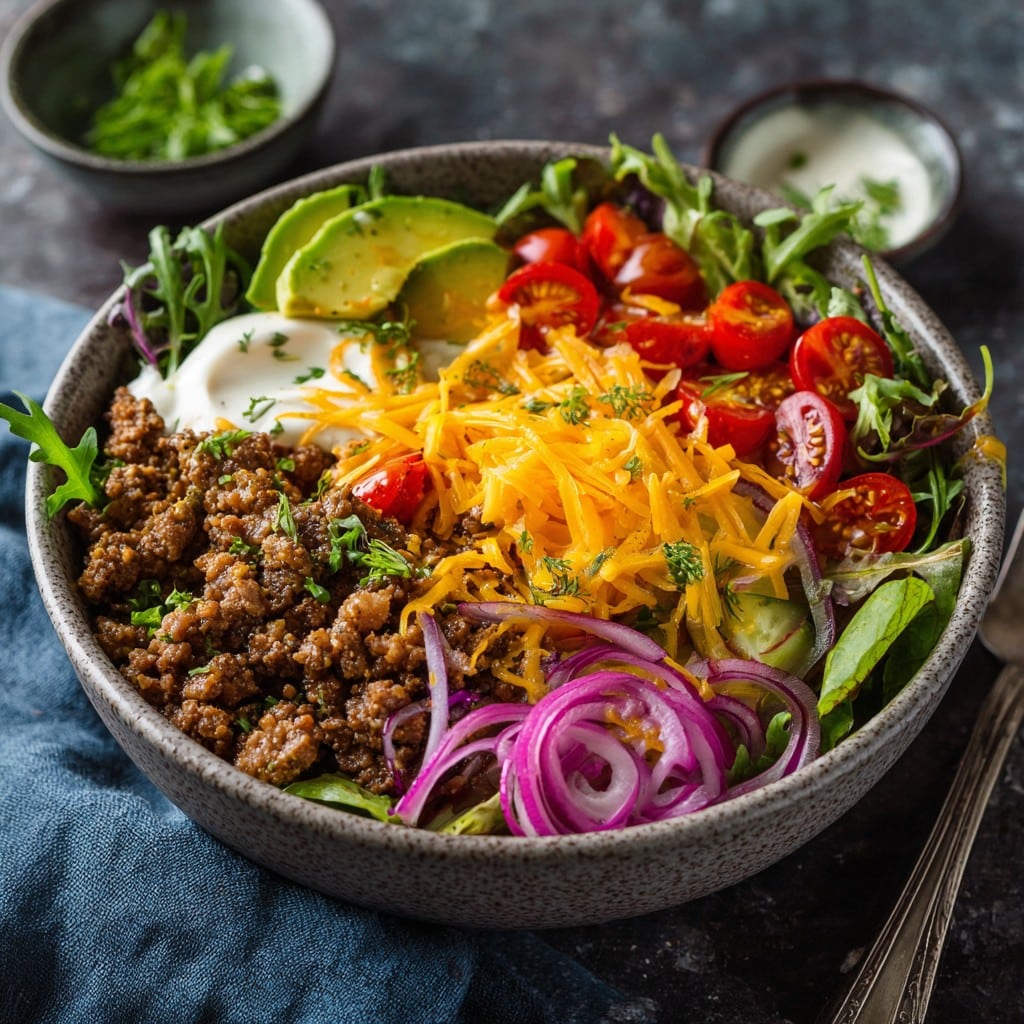
What You’ll Need: ‘Cause It’s Not Set in Stone
- 500g (or about a pound) lean ground beef (or turkey if you’ve got picky eaters—works a treat, though my cousin swears by lamb… I just use what’s on sale)
- 1 tsp garlic powder (but honestly, fresh is fancier, I just don’t always fancy chopping it)
- 1 tsp onion powder or a handful of chopped spring onions (scallions for my US pals)
- Salt and pepper (just a good pinch of each)
- Mixed salad greens—about two big handfuls per bowl (romaine, spinach, rocket…whatever’s wilting in your fridge)
- Cherry tomatoes, halved (or diced big tomatoes, those wrinkly ones work fine if you toss out the weird bits)
- Shredded cheddar or any cheese you like (I swap in feta sometimes, my mate likes blue cheese—go wild!)
- Dill pickles, sliced
- Red onion, thinly sliced (or skip if you’ve got fussy eaters, feel free to substitute fried shallots too)
- 1 avocado, diced (I leave this out when I forget… no one’s cried yet)
- Sauce: a good dollop of gluten free mayo, ketchup, and Dijon mustard mixed together; or just use your favorite bought sauce (Sorry, homemade sauce enthusiasts, but I need quick wins…)
- Optional: bacon bits, roasted potatoes, or if you must, a handful of gluten free croutons (haven’t tried it myself, but let me know?)
Here’s How I Throw It All Together
- Heat a big skillet or frying pan (medium-high works); toss in the ground meat with garlic/onion powder, salt, and pepper. Stir, break it up, and let it get a bit crispy in places. This is where I usually sneak a taste (don’t worry, I wait until it’s cooked—learned the hard way once… just don’t ask).
- While that’s doing its thing, pile the greens into bowls. Top with tomatoes, pickles, red onion, and avocado. I’m not really precious about the order; I like mine looking like a bit of a mess.
- Once the meat is browned, drain off a bit of the fat if you like. Spoon it straight onto your salad. Watch out for steam—burned my hand last month. Still tasty.
- Scatter with cheese (as much as makes your heart sing), maybe some bacon bits if you’re feeling fancy or the fridge needs clearing.
- Spoon over your homemade (or store-bought—I’m not here to judge) sauce, and that’s basically it. Sometimes I let folks build their own at the table if I can’t be bothered with presentation. More fun that way actually.
Notes—Or, Stuff I Wish I’d Known Sooner
- Using rocket/argula? Not everyone loves it; go easy unless you like peppery greens (I do, but it annoyed my teenager once; still hear about it)
- If your meat gets a bit dry, just add a splash of water or stock while cooking (not the end of the world if you forget, but it’s a rescue tip)
- Tomatoes going slightly wrinkly? Toss them in anyway—their flavor is even better, just cut out any weird bits
Variations—Or My Kitchen Experiments
Did a Tex-Mex spin with taco seasoning and black beans once—everyone thought it was brilliant except the dog, who’s not keen on beans (and that’s probably for the best). Swapped in grilled portobello slices for a veggie night; surprisingly decent! Tried using leftover pulled pork instead of beef—delicious, but maybe more like a deconstructed sandwich? Oh, and don’t bother with iceberg lettuce as the main base; it gets kind of soggy and insipid. Learned that the hard way.
What If You Don’t Have All the Fancy Kitchen Gadgets?
I say “skillet” but really, any large frying pan will do (heck, I even used a wok once when all my pans were, quote, “in the wash” aka still dirty—worked out fine). If you haven’t got a mixing bowl, just toss everything in a big serving bowl or even a roasting tray. Gets the job done, mate. (If you’re missing out on cutting boards, the back of a big plate works in a pinch, though my partner says that’s not “ideal”—it’s good enough for me!)
Storing Leftovers (If There Even Are Any)
You can refrigerate prepped meat and toppings in separate containers for 2-3 days, but honestly, in my house it never lasts more than a day! If the greens are already dressed, they’ll go a bit soggy by the next day—just sayin’. But the meat’s great for wraps or omelets if you find yourself with leftovers (ha, as if).
Best Ways to Serve It (Or, How We Do It)
We always set out all the toppings in bowls and let everyone build their own—no fights, less moaning, and you’d be shocked what kids will eat if they get to assemble it themselves. I usually put out a little bowl of hot sauce or pickled jalapeños for the adventurous. Occasionally someone asks for sliced gherkins, or, weirdly, pineapple (I know, but it’s actually not terrible with beef). We sometimes add a side of oven potato wedges if we’re really, really hungry.
Lessons I Wish I’d Learned First (Pro-ish Tips)
- Don’t rush browning the meat—even if you’re starving—because that little bit of crust makes it way tastier. I once tried cranking the heat up and just got burnt bits everywhere. Lesson learned…
- Actually, I find it works better if you cool the meat slightly before tossing it directly onto the greens; otherwise, lettuce wilts into mush. Not the vibe.
- Resist the urge to heap on every leftover topping “just because”—trust me, there’s such a thing as too much going on.
Got Questions? Here’s What Folks Actually Ask Me
Q: Is this really filling enough for dinner?
Oh, you bet—it can be, especially with extra toppings. Or crackers if you’re not being strict. Once, I added roasted potatoes, and we all waddled to the sofa after.
Q: Can I use a veggie mince?
Absolutely! Some brands are better than others, but I like Beyond Meat for this—or Tesco’s own, if you’re on my side of the pond. Tastes pretty darn close to the real thing, especially with all those bold toppings.
Q: How do I keep the greens from wilting?
Let the meat cool just a bit (like, make your dressing or get the drinks sorted in the meantime), then everything holds together better.
Q: Sauce ideas?
I just mix mayo, ketchup, and a squirt of mustard, but there’s no wrong move here. Sometimes I pinch ideas from other home cooks, like hummus or yogurt-based dressings. Gets people talking, anyway.
Q: Do I have to use beef?
Not at all! Turkey, chicken, pork, mushrooms—you do you. Even no meat at all! Actually, sometimes I wonder why I didn’t try veggie bowls sooner.
Alright, I’m off to put the kettle on. If you give these bowls a whirl, tag me somewhere or just shout about it at the next school pick-up line—I love hearing how you all change it up. Happy not-burger night!
Ingredients
- 1 lb ground beef (85% lean)
- 1 tsp garlic powder
- 1 tsp paprika
- Salt and pepper to taste
- 1 cup cherry tomatoes, halved
- 1 cup shredded iceberg lettuce
- 1/2 cup shredded cheddar cheese
- 1/2 red onion, sliced
- 1/4 cup pickles, sliced
- 1 avocado, diced
- 1/2 cup gluten-free burger sauce or dressing
Instructions
-
1Preheat oven to 400°F (200°C).
-
2In a mixing bowl, combine ground beef, garlic powder, paprika, salt, and pepper. Mix until just combined.
-
3Divide the beef mixture into 4 portions and shape into thick patty bowls. Place bowls on a baking tray lined with parchment paper.
-
4Bake for 18-20 minutes or until fully cooked.
-
5Let the burger bowls cool slightly. Fill each bowl with lettuce, cherry tomatoes, cheddar cheese, red onion, pickles, and avocado.
-
6Drizzle with gluten-free burger sauce or dressing and serve immediately.
Approximate Information for One Serving
Nutrition Disclaimers
Number of total servings shown is approximate. Actual number of servings will depend on your preferred portion sizes.
Nutritional values shown are general guidelines and reflect information for 1 serving using the ingredients listed, not including any optional ingredients. Actual macros may vary slightly depending on specific brands and types of ingredients used.
To determine the weight of one serving, prepare the recipe as instructed. Weigh the finished recipe, then divide the weight of the finished recipe (not including the weight of the container the food is in) by the desired number of servings. Result will be the weight of one serving.
Did you make this recipe?
Please consider Pinning it!!