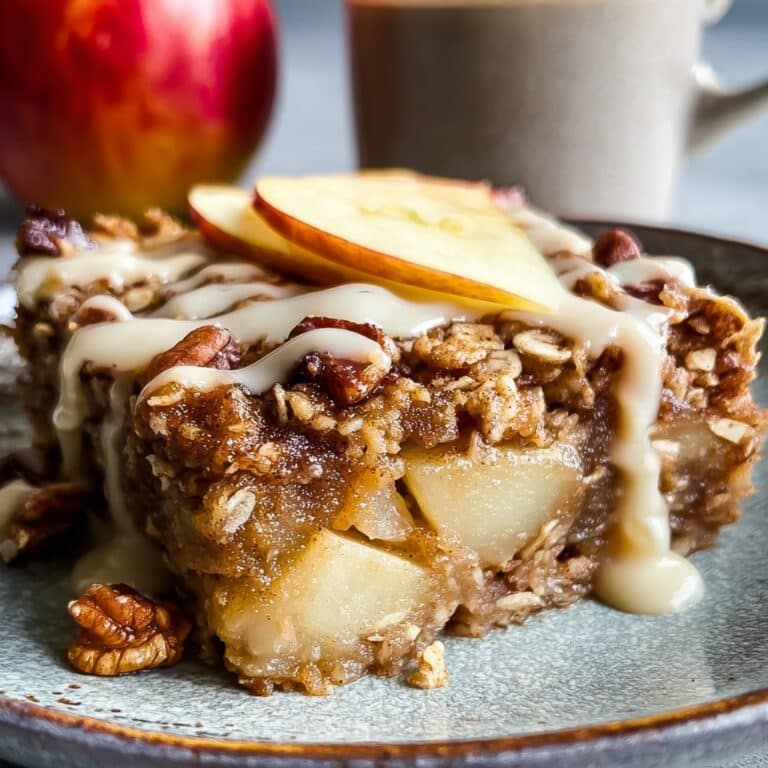
Breakfast Sweet Potato: My Cozy Morning Go-To Recipe
Let’s Talk Sweet Potatoes Over Coffee
I feel like breakfast is the ultimate chance to do something a little different—especially on days when you wake up hungry enough to eat your own hat. The first time I tried making breakfast sweet potato, I’d actually run out of bread (of course, right when I’m craving toast). So, I roasted up a sweet potato out of pure necessity and, not to sound dramatic, but my breakfast game kinda changed forever. My brother still acts bewildered when I make this for him—he calls it “breakfast dessert,” but in the kindest way. Also, be ready to eat at the kitchen counter, because that’s how it goes here.
Why You’ll Love This Weirdly Wonderful Thing
I make this when I’m tired of eggs (which is basically every Wednesday). My family goes a bit bonkers for it because it’s both sweet and comforting, and—if I’m being real—it’s ridiculously customizable. Let me warn you, the toppings may cause mild chaos since everyone wants something different. Plus, when it comes out smelling like caramel, it feels like I’ve fooled everyone into eating vegetables for breakfast. (Don’t tell my nephew, but the first time I tried, I nearly set the timer for 90 minutes. Oops.)
The Easiest Ingredients (Plus Some Real-Life Hacks)
- 1 large sweet potato (or two smaller ones)—I just grab whatever looks decent at the shop; honestly, I can’t tell the difference between varieties sometimes.
- 1 tablespoon butter (or a glug of olive oil if dairy’s not your thing)
- A big pinch of cinnamon (I use more than is probably necessary)
- Maple syrup or honey—sometimes I just drizzle whatever’s on hand (agave works too, but my gran swears it’s “not the same”)
- Pinch of salt—makes the sweet stand out more (don’t skip it!)
- Optional, but fun: Greek yogurt, crunchy granola, chopped pecans, nut butter (when I’m feeling fancy), or even a sprinkle of cocoa powder (no one ever expects that)
How I Make It (and Sometimes Mess It Up)
- Give your sweet potato a good scrub. Poke it a few times with a fork—I’ve learned the hard way that skipping this step just isn’t worth the oven clean-up.
- Toss it straight onto the oven rack (use foil underneath if you’re clumsy like me), and roast at 425°F (220°C) for about 45 minutes. If I’m running late, I microwave it first for 5-6 minutes, then finish in the oven for 20-ish. You want it super soft—the skin should kind of collapse when you poke it.
- Let it sit for 5 minutes (mostly because it’s hot as molten lava). I usually sneak a little taste at this point—try not to burn your tongue, but I always do.
- Slice open, mash the insides a bit, and top with butter, cinnamon, a drizzle of maple syrup, and a tiny pinch of salt. Don’t worry if it looks messy—it’s supposed to. Add extra toppings however you like, because honestly, there’s no wrong way.
Notes from My Ongoing Experimentation
- Even if it seems undercooked in the middle, just stick it back in for another 10 minutes. No one likes a crunchy sweet potato.
- I’ve used coconut oil in place of butter (by accidental purchase) and it’s pretty nice—just a bit beachy.
- Honestly, this tastes even better the next day, cold or reheated. I didn’t believe that the first time, but now I’ll sometimes make two at once.
What Else I’ve Tried (and When It All Went Pear-Shaped)
- Tried topping with peanut butter and banana once—bit too much for breakfast, but, you know, live and learn.
- Adding a fried egg on top? Not half bad. Bit weirdly filling, though; maybe better for brunch.
- Attempted it with marshmallows (don’t ask), and let’s just say… nobody asked for seconds. Definitely a “learned my lesson” moment.
What You (Maybe Don’t) Need
A baking tray is ideal, but if you don’t have one (my friend moved out with mine once—she claims it was hers, I disagree), just pop the sweet potato right on some foil in the oven. And sure, a sharp knife is best, but I’ve managed with a butter knife after a good bake.

How Long Does It Keep? (Or Not…)
Technically, you can store leftovers in a container in the fridge for up to 3 days, but in my house, it barely makes it a day. If you manage self-control, just reheat in the microwave or oven.
How We Serve It (Or Squabble Over Toppings)
I like mine with a mountain of Greek yogurt and extra cinnamon—my sister puts granola and chocolate chips on hers (calling it “trail mix breakfast”). When we’re feeling posh, we’ll add a handful of berries. And sometimes, just a mug of strong tea on the side (Yorkshire, if you want to know).
Stuff I’ve Learned the Hard Way (Pro Tips, Sort Of)
- Once I tried rushing this by roasting at a higher temp, but it just scorched the skin and left the middle raw—not worth it.
- Don’t skip poking holes—trust me, sweet potato lava in your oven is a nightmare and no, lemon juice does not cover the smell.
- Actually, I find it works better if you let it rest a few minutes before opening—otherwise, it just explodes steam everywhere.
Your Questions (Because I Get These All the Time!)
- Can I microwave the whole thing?
- Sure! Just prick, microwave for 7-10 minutes (flip halfway), then finish in the oven for a bit of crispy skin—but it’s not essential. Microwaves are a gift and a curse, aren’t they?
- Is this vegan?
- If you use olive oil or coconut oil and skip the dairy toppings—definitely! And swap maple for honey if vegan.
- Can I prep this ahead?
- Absolutely. Sometimes I roast a couple the night before, stash them in the fridge, and just warm in the morning. Saves precious snooze time.
- What’s a good side?
- Everyone in my house votes bacon, but I think crispy chickpeas (like these) are nice. Have you seen these egg methods? Good with that too.
- Do the leftovers freeze?
- Well, probably—they say you can, but the texture gets a bit odd in my experience. If you must freeze, wrap tightly. (I think it’s better fresh, tbh.)
On a final note, if you’re on the fence about all this, honestly, just give it a bash next time you want breakfast that’s not just toast again. If it works out, let me know, and if you invent a new topping combo that blows my mind, you absolutely have to share. Cheers!
Ingredients
- 2 medium sweet potatoes
- 1/2 cup Greek yogurt
- 1/4 cup fresh blueberries
- 1/4 cup fresh strawberries, sliced
- 2 tablespoons chopped walnuts
- 1 tablespoon honey
- 1/4 teaspoon cinnamon
- Pinch of sea salt
Instructions
-
1Preheat the oven to 400°F (200°C). Line a baking sheet with parchment paper.
-
2Wash and scrub the sweet potatoes. Pierce each sweet potato several times with a fork and place on the prepared baking sheet.
-
3Bake the sweet potatoes for 35 minutes, or until they are tender when pierced with a fork.
-
4Remove sweet potatoes from the oven and let cool for a few minutes. Slice each potato lengthwise and gently fluff the insides with a fork; sprinkle with a pinch of sea salt and cinnamon.
-
5Top each sweet potato with Greek yogurt, blueberries, strawberries, and walnuts. Drizzle with honey before serving.
Approximate Information for One Serving
Nutrition Disclaimers
Number of total servings shown is approximate. Actual number of servings will depend on your preferred portion sizes.
Nutritional values shown are general guidelines and reflect information for 1 serving using the ingredients listed, not including any optional ingredients. Actual macros may vary slightly depending on specific brands and types of ingredients used.
To determine the weight of one serving, prepare the recipe as instructed. Weigh the finished recipe, then divide the weight of the finished recipe (not including the weight of the container the food is in) by the desired number of servings. Result will be the weight of one serving.
Did you make this recipe?
Please consider Pinning it!!

