Longevity Miso Bowl (High-Protein)
Let Me Tell You About My Lazy Night (But Awesome) Longevity Miso Bowl
So, you know how there are those nights when you want to eat something that’s actually good for you, but your energy’s packed up and left by 6pm? That’s usually when I whip out this Longevity Miso Bowl (which sounds super fancy but honestly, it’s just my high-protein, throw-it-together comfort bowl.) The first time I made it, I was honestly trying to clean out the fridge, but everyone at the table was raving—my brother even went back for seconds, which never happens unless there’s cake involved.

If you’ve ever felt like nourishing food is always an ordeal, this bowl will prove otherwise. And if you can stir, you can make this. Swear down!
Why I Keep Coming Back To This Bowl
I make this when I don’t want to think too hard but still want something nourishing (and something that I can claim made me live longer, you know?) My family goes a bit nuts for this, especially on chilly nights or after a long jog—not that I jog often, but you get the idea.
And I kinda love that you can use just about any veg that’s hanging out in your fridge drawer (sometimes I even find things I forgot I bought; last week, a lone zucchini appeared). Swapping stuff in or out doesn’t wreck the magic. Plus, you get that miso umami aroma that makes the house smell amazing—even my cat sniffs the air like, hey).
What You’ll Need (and What You Can Fake)
- 2 heaping tablespoons miso paste (white or yellow; I’ve subbed in brown rice miso and lived to tell the tale)
- 4 cups veggie broth (box, homemade, or even water with a stock cube—my grandmother’s rolling her eyes somewhere, but it’s fine!)
- 1 cup firm tofu, cubed (I sometimes use tempeh if I’m feeling extra, but it gets chewier)
- 1 big handful of spinach or kale (frozen works when you forget the fresh stuff; looks less photogenic but tastes good)
- 1/2 cup shelled edamame (I skip this when the freezer’s empty—it’s fine without it)
- 2 green onions, sliced (or regular onions fried up a bit if you’re in a pickle)
- 1 large carrot, julienned (or, truth be told, shredded with a peeler because who has time?)
- 1 teaspoon sesame oil (optional, but I love the toasty thing it does)
- 2 teaspoons soy sauce (tamari if you’re gluten-free, or just salt in a pinch)
- Cooked short-grain rice or quinoa, about a heaping cup per person (but I wing this most of the time)
- Top with: toasted sesame seeds, nori strips, chili flakes, or whatever odd bits are rattling around
Let’s Make It (Just Don’t Rush The Miso!)
1. Cook your rice or quinoa first (unless you like eating dinner at midnight—learned the hard way).
2. In a biggish pot, bring the veggie broth to a gentle simmer. Don’t boil the socks off it; just get a nice steam going.
3. Add tofu cubes and carrots; let them have a warm bath for about 4 minutes. Chuck in the edamame now if you’re using it.
4. Lower the heat. This is the moment I usually get distracted and stir in miso too fast, but actually, it works better if you ladle out a bit of hot broth, then whisk in miso paste separately before adding it back to the pot. Keeps the probiotics from going kaput.
5. Toss in the spinach or kale. Stir until it wilts—looks a bit messy at first but comes together, promise.
6. Add the sliced green onions and drizzle in sesame oil and soy sauce (I taste here, always—sometimes regret too much soy, but that’s life.)
7. Spoon the whole thing generously over your bowl of rice or quinoa. Add your toppings, because toppings are the best part; argue with me if you want, but more is more.
Stuff I’ve Learned The Hard Way (Notes)
– If you ever add miso straight to boiling broth, you’ll get weird floating lumps—learned this on a sleepy Tuesday; I just tell people it’s “rustic.”
– Don’t be too precious with measurements; if your bowl’s swimming, it’s more soup, not a disaster.
– I swear, the leftovers (if there are any) taste better the next day—maybe it’s that magic miso thing.
If You Wanna Mess Around (Variations From My Experiments)
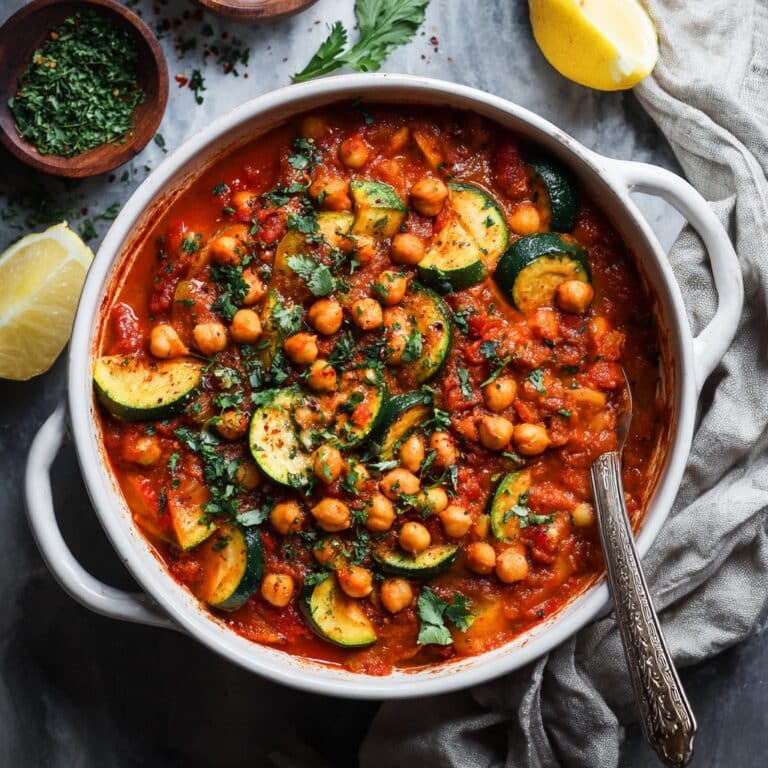
– Swapped tofu for chickpeas once, and actually quite liked it—different, but hearty.
– Used soba noodles instead of rice; it was a slippery slurp-fest, which my niece thought was hilarious (so, child-approved, I guess?)
– Tried adding mushrooms for a meatier feel. Button mushrooms ok, shiitake even better.
– Once I tried peanut butter for a creamy twist. Honestly, wouldn’t recommend it. Weird, but hey, points for curiosity.

No Fancy Tools? Don’t Worry
You just need a pot (big enough for soup). Don’t have a rice cooker? I just boil it on the stove, sometimes it sticks a bit but who’s noticing? If not, just use microwave rice—no shame here.
How To Store (Though In My House…)
Stick leftovers in a lidded container and keep in the fridge; good for 2–3 days. Though honestly, it never lasts beyond the next lunch in my house, so maybe just double the batch? You can reheat on low—don’t nuke it on high or the tofu goes a bit squeaky (know that sound? Drives me mad.)
How I Like To Serve This (But You Do You)
I spoon it into big bowls, scatter on sesame seeds and nori. Sometimes, for a bit of drama, I’ll do a squiggle of sriracha. My partner’s really into pak choi on the side, so if you’re fancy, steam some up. Friday nights, I’ve been known to add a soft-boiled egg (cracked open and oozy—yum).
What I Wish I Knew Earlier (Pro Tips From My Kitchen Fails)
Don’t skip the step where you blend the miso with a little broth. I tried just chucking it in—nope, big mistake. Same goes for not pressing tofu enough; who knew soggy tofu was a thing? Oh, and don’t cook the greens for ages—they go army green and sad, which isn’t the vibe.
Questions I Get All The Time (Honestly, People Ask Me This!)
Can I make this gluten-free?
Yep, super easy. Just use tamari instead of soy sauce and double-check your miso paste (most are fine).
Can I freeze it?
I mean, you probably could—never tried, though, since there’s never much left! I would set aside the leafy greens and add fresh ones later…otherwise wilt city.
Does it have to be tofu?
Nah, I’ve used shredded chicken once for a meat-eater friend. Chickpeas, even lentils could work—but tofu is the classic for a reason (and also just so quick, which I love).
Can you skip rice?
Absolutely; sometimes, I even do half rice, half cauliflower rice if I’m being virtuous—or just skip it and ladle everything into a mug. Call it miso stew, why not?
Any tricky bits?
The only part I sometimes mess up is overcooking the tofu, but that’s just me getting distracted. Just keep an eye on it, and you’re gold.
Oh, one last thing (told you I ramble): I once tried stirring in a splash of orange juice because a chef on TV suggested it for brightness. Maybe it works for some folks, but I prefer the straight-up savory version, thanks very much.
Ingredients
- 1 cup quinoa, rinsed
- 4 cups low-sodium vegetable broth
- 3 tablespoons white miso paste
- 200g firm tofu, cubed
- 1 cup shelled edamame
- 1 cup broccoli florets
- 1 medium carrot, julienned
- 2 green onions, thinly sliced
- 1 tablespoon sesame oil
- 1 tablespoon soy sauce (or tamari)
Instructions
-
1Cook the quinoa according to package instructions. Set aside and keep warm.
-
2In a medium pot, heat sesame oil over medium heat. Add cubed tofu and sauté until golden on all sides, about 5 minutes. Remove and set aside.
-
3In the same pot, add vegetable broth and bring to a simmer. Whisk in miso paste and soy sauce until dissolved.
-
4Add broccoli florets, edamame, and carrot to the broth. Simmer for 5-7 minutes until vegetables are tender but crisp.
-
5Divide cooked quinoa among serving bowls. Ladle the miso broth and vegetables over the quinoa, top with sautéed tofu, and garnish with green onions.
Approximate Information for One Serving
Nutrition Disclaimers
Number of total servings shown is approximate. Actual number of servings will depend on your preferred portion sizes.
Nutritional values shown are general guidelines and reflect information for 1 serving using the ingredients listed, not including any optional ingredients. Actual macros may vary slightly depending on specific brands and types of ingredients used.
To determine the weight of one serving, prepare the recipe as instructed. Weigh the finished recipe, then divide the weight of the finished recipe (not including the weight of the container the food is in) by the desired number of servings. Result will be the weight of one serving.
Did you make this recipe?
Please consider Pinning it!!