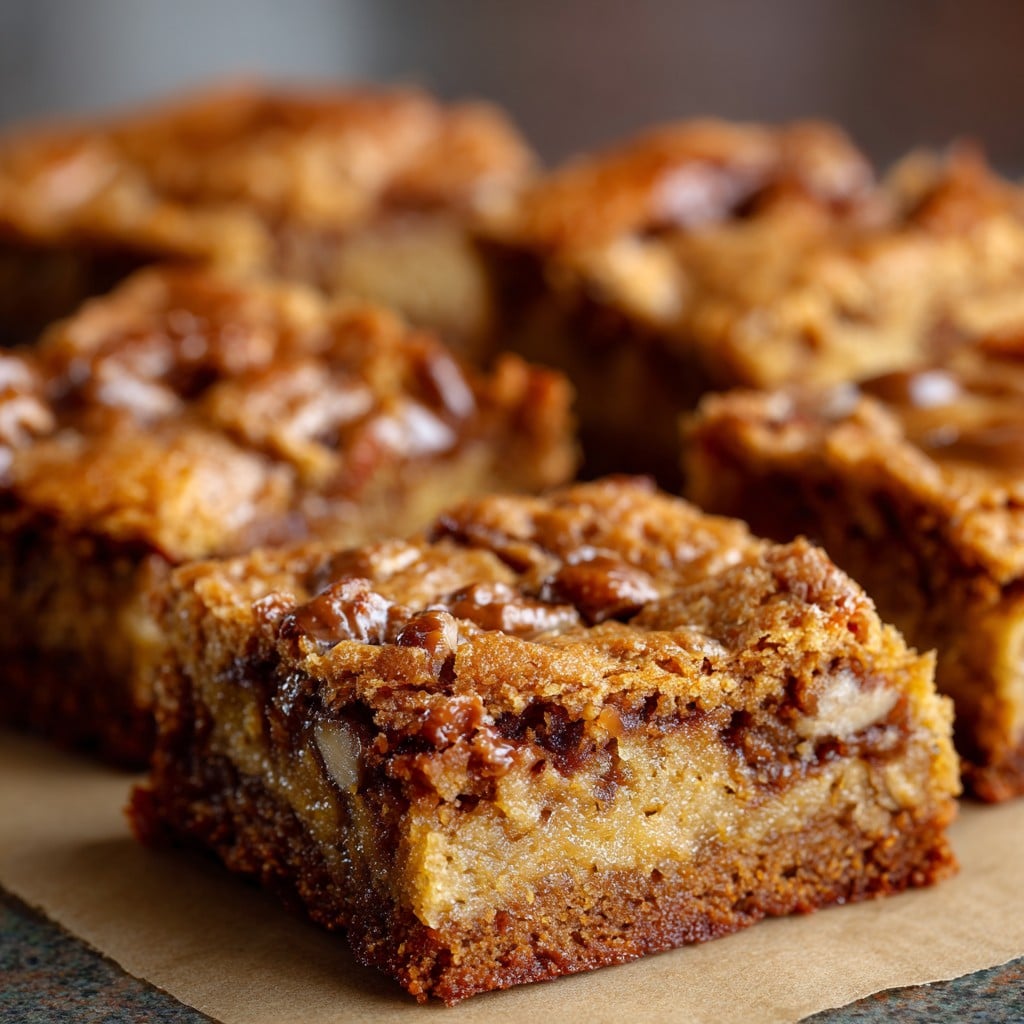
Brown Butter Toffee Blondies
So, About These Blondies—Why I’m Obsessed
Okay, so let’s talk Brown Butter Toffee Blondies. I first made these on a Sunday when I was supposed to organize my sock drawer but the kitchen just called out louder, you know? There’s something about browning butter that feels like an adventure every single time—even if it’s just because I nearly burn it about half the time. (I’ve learned to hover like a hawk.) The first batch, well, I forgot the baking powder and the result was… let’s say chewy, which my brother called ‘unique.’ Now though? These blondies are my go-to. They even beat my Aunt Peg’s frankly terrifying but famous fruitcake at family gatherings. No contest.
Why You’ll Love This Mess (In the Best Way)
I make these whenever I need something quick but still sort of impressive (which is often, because I rarely give myself enough time for anything fancier). My family goes slightly feral when they smell the butter browning. Also, if I’m honest, sometimes I throw in whatever nuts or chocolate are lying around if I’m short on toffee bits—it always disappears by morning anyway. And here’s the thing: I had battles with the sticky toffee chunks sinking to the bottom, but actually, I just stir more slowly now and it mostly works. If you burn the butter the first time, please, join the club—next time, just give it a gentle swirl and breathe in the smell (sort of nutty, sort of caramelized magic).
What You’ll Need (And What I Sometimes Swap In)
- 1 cup (225g) unsalted butter (I’ve used salted if that’s all I have—just cut down on salt elsewhere)
- 2 cups (400g) light brown sugar (for a deeper flavor, dark brown sugar works, too, but it’ll be richer)
- 2 large eggs (I once used three small ones—didn’t notice any disaster)
- 2 teaspoons vanilla extract (my grandmother is loyal to Nielsen-Massey, but supermarket stuff works just fine)
- 2 cups (250g) all-purpose flour (you can swap 1/3 cup for whole wheat, but it’s a little denser, just FYI)
- 1 teaspoon baking powder
- 1/2 teaspoon salt
- 1 cup toffee bits (or chop up a Heath bar or two, if that’s what’s there)
- 1/2 cup chopped pecans or walnuts (completely optional, but I love the crunch—my sister picks them out though)
- 1/2 cup chocolate chips (only if I’m feeling wild)
How I Throw These Together (Sometimes Forgetting a Step)
- Melt the butter in a saucepan over medium heat; keep swirling it and watch as it goes frothy, then brown and nutty-smelling. This takes, I dunno, 5 minutes? Just don’t check your phone at this stage. Pour it into a big bowl to cool (otherwise it can scramble the eggs—ask me how I know).
- After at least 10 minutes, add the brown sugar. Mix until the combination looks glossier than you expect. Add the eggs and vanilla, then beat until smooth. Sometimes I hand-mix, sometimes I use a cheap electric beater. Both work—just don’t overmix.
- Whisk together flour, baking powder, and salt in a separate bowl. Dump this into your wet stuff. I stir gently until streaks barely disappear. Don’t worry if a little flour lingers—it sorts itself out while baking.
- Fold in the toffee bits (and nuts/chocolate chips if you want). This is where I usually sneak a taste, risks be darned.
- Scrape the thick batter into a lined 9-inch square pan (or even just a greased one if you’re out of parchment—I am half the time). Spread it out with a spatula or, honestly, your clean hands. Bake at 350°F (180°C) for 28-32 minutes, until the center is just set and the edges look golden. If your oven runs hot, keep an eye (sometimes mine bakes in 25, and then I eat the extra corner piece as a reward for paying attention).
- Let cool (or at least pretend to let it cool for half an hour), then cut into squares. Steal a corner for “taste testing purposes.” Always worth it.
Extra Notes (From My Many Mistakes)
- The first time I tried these, I waited until the butter was crazy dark—don’t do that. Aim for golden with brown flecks, not coffee-colored sludge.
- Toffee bits sometimes pool at the bottom; now I toss them in flour before folding them in. Works, mostly.
- Actually, I think these taste better the next day. Assuming you hide some, which honestly, good luck.
- If your blondies seem dry, I probably measured the flour too heavy—now I just fluff it up and spoon it in lightly.
Variations That (Mostly) Work
- If you’re not a toffee fan, swap with white chocolate chunks. (But, I tried caramel pieces once and they melted into unattractive puddles—skip that.)
- Peanut butter chips? Oh, man, those are good in a weirdly salty-sweet way.
- I once added chopped dried figs—my kids revolted, so, lesson learned there.
- A dash of cinnamon gives it this autumnal vibe. Try it when it rains; feels extra cozy.
Do You Need Fancy Equipment?
You should use a 9-inch square metal pan for nice edges, but I’ve gotten away with a round cake tin and once even a battered glass dish. Leftover parchment is handy for easy lift-out, but if you ever run out, just grease and flour the pan—old school style. No electric mixer? A whisk and some elbow grease works—consider it cardio.
Keeping Blondies Fresh (Or Trying To)
Okay, store these babies in an airtight container at room temperature, and they’ll stay good for up to four days. In theory. In my house, they vanish by the next morning. If you actually manage to keep leftovers, freeze them (slices separated by parchment) and you can sneak one straight from the freezer—still good! (More chewy, though.)
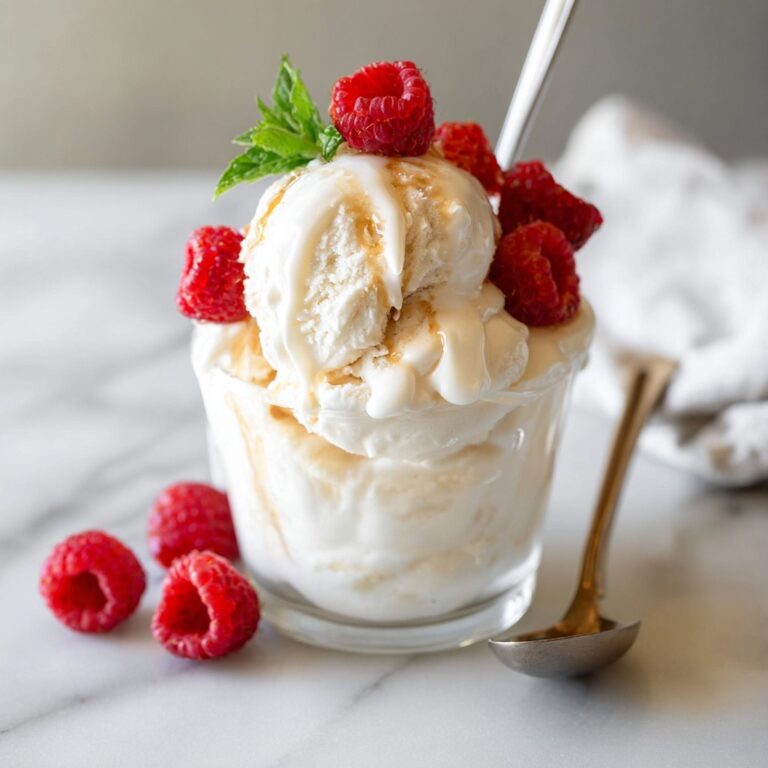
How I Like To Serve ‘Em
Just a simple square with strong coffee is honestly my go-to, but my niece demands a warm piece with a scoop of vanilla ice cream and a sprinkle of sea salt. Honestly? Not mad about it. For birthdays, I cut them a little smaller and pile them up “blondie-cake” style. It’s, well, fun and chaotic. And if you need coffee inspiration, I really like Sprudge for brew tips.
Pro Tips Learned The (Slightly) Hard Way
- Once, I dumped the eggs in while the butter was super hot—ended up with sweet scrambled eggs. Wait for the butter to cool a bit, trust me!
- Baked them too long thinking more golden equals better. Nope, just dry city. Slightly underbake for soft middles.
- I tried to get fancy and used browned margarine—don’t. It’s just greasy. Butter’s the hero here.
If You’re Wondering…
- Can I make these gluten-free?
Yep, just use a 1:1 gluten-free flour mix. I find Bob’s Red Mill works well. Want to get fancy? Check this resource for more baking swaps. - Do I really need to brown the butter?
Well, you could just melt it, but the flavor’s why these win hearts. You taste the nuttiness every time! Still, no one will grumble if you skip it (unless they’re butter nerds like me). - What if I only have dark brown sugar?
Go for it. Flavor will be richer, more molasses-y. My friend actually likes it better that way—I’ll admit, it’s pretty good. - Are these super sweet?
Pretty sweet, yeah. You can cut back the sugar by up to 1/4 cup and they’re still plenty tasty. - Can I double this recipe?
Oh, totally—just use a 9×13 pan, bake about 35 min. Edges will be very popular. Watch they don’t burn, though (I almost forgot mine once while binging a baking show).
If you want more kitchen tales or trustworthy, chaos-friendly recipes, I sometimes browse Smitten Kitchen (very home-cook friendly, if you ask me). Enjoy—and please, try not to burn the butter, but if you do, know that you’re in good company.
Ingredients
- 1 cup (227g) unsalted butter
- 2 cups (400g) packed light brown sugar
- 2 large eggs
- 2 teaspoons vanilla extract
- 2 cups (250g) all-purpose flour
- 1 teaspoon baking powder
- 1/2 teaspoon salt
- 1 cup (160g) toffee bits
Instructions
-
1Preheat the oven to 350°F (175°C). Line a 9×13-inch baking pan with parchment paper or lightly grease it.
-
2Melt the butter in a medium saucepan over medium heat. Continue cooking, stirring frequently, until the butter is golden brown and smells nutty, about 5 minutes. Let cool slightly.
-
3In a large bowl, whisk together the brown sugar and browned butter until smooth. Beat in the eggs and vanilla extract.
-
4Stir in the flour, baking powder, and salt until just combined. Fold in the toffee bits gently.
-
5Spread the batter evenly into the prepared pan. Bake for 22-25 minutes or until the edges are golden and a toothpick inserted in the center comes out with a few moist crumbs.
-
6Allow blondies to cool completely in the pan before cutting into squares. Serve and enjoy!
Approximate Information for One Serving
Nutrition Disclaimers
Number of total servings shown is approximate. Actual number of servings will depend on your preferred portion sizes.
Nutritional values shown are general guidelines and reflect information for 1 serving using the ingredients listed, not including any optional ingredients. Actual macros may vary slightly depending on specific brands and types of ingredients used.
To determine the weight of one serving, prepare the recipe as instructed. Weigh the finished recipe, then divide the weight of the finished recipe (not including the weight of the container the food is in) by the desired number of servings. Result will be the weight of one serving.
Did you make this recipe?
Please consider Pinning it!!